29 Jun What is the best beer making kit for brewing your first sour?
What is the best beer making kit for brewing your first sour?
Love sour beers? Want to learn the art of the tart brew? Don’t know where to start? Then you’ve come to the right place! In recent years American craft beer drinkers & brewers have become fascinated by these acidic, funky fermentations and continue to experiment and push the limits of the style.
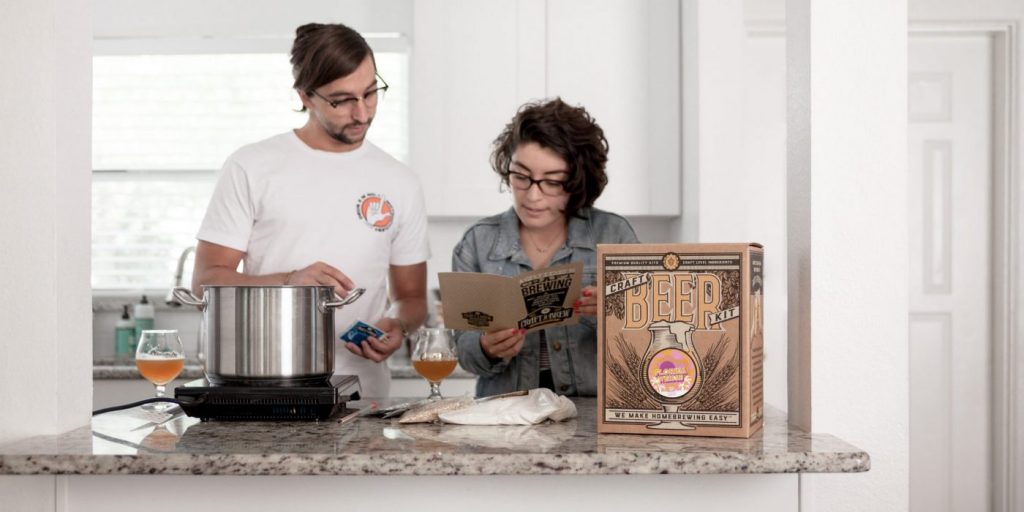
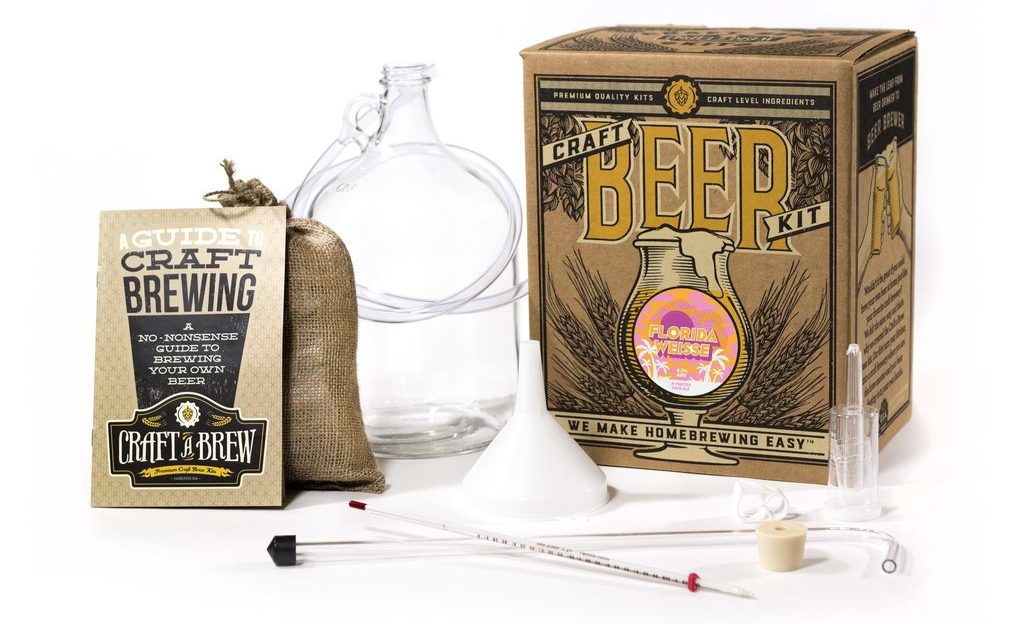
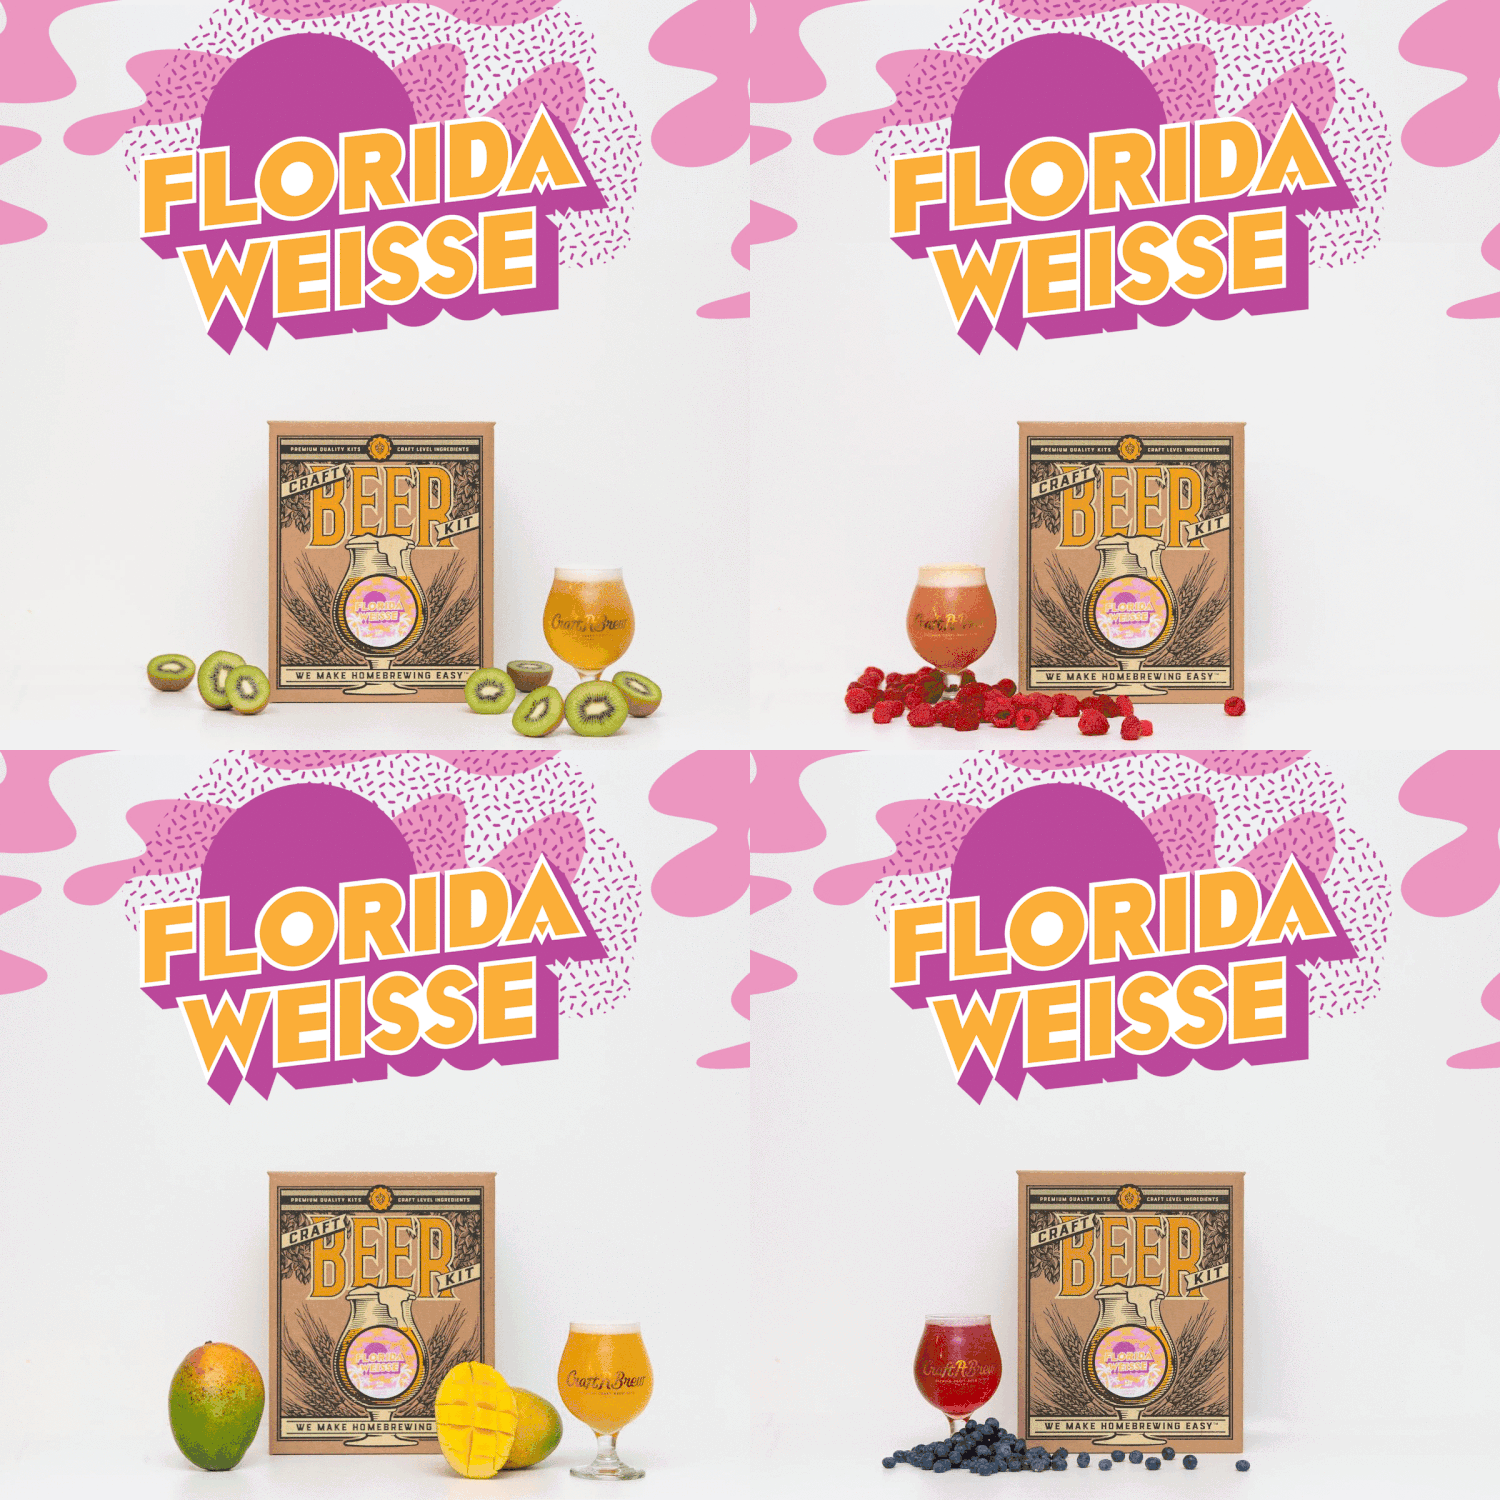
If you’re hooked on sours & interested in crafting your own, it’s wise to learn the ropes with an approachable, all-in-one beer brewing kit (like Craft a Brew’s 1 gallon Florida Weisse sour beer kit). A comprehensive kit ensures that you have all the proper equipment, specialty ingredients and step by step instructions to craft an impeccable tart beer.
Before we compare & determine what is the best beer making kit for your first sour, we’ll review just how sour beers are made, review the anatomy of a sour & a few important styles. It’s important to understand the process before you embark on your sour brewing journey (and you’ll quickly see why a complete, user-friendly beer making kit will be so essential for your first try).
Throughout this post we’ll be answering all your burning questions, like:
- What makes a beer sour?
- What’s included in a sour beer making kit?
- What is the best beer making kit for my first attempt?
- How do I brew my own sour beer?
- How can I add fruit to my creation?
How does a beer become sour?
Described as tart, sour, funky, acidic, vinegar-y and beyond, sour beer character varies from style to style, as do the techniques to brew them. “Sour beer” is a sort of blanket term that encompasses numerous styles: Lambic, Flemish Red, Gose, Berliner Weisse and modern American sour ales.
So how, exactly, does a beer get sour? What’s going on in the beer making process to change the flavor so much?
Yeast & Fermentation
Beer boils down (no pun intended) to 4 essential ingredients: malts, hops, yeast & water. But sour beer recruits a 5th player: lactic acid bacteria.
Water + Malted Barley + Hops + Lactic Acid Bacteria + Yeast
During fermentation, yeast (a living organism that’s technically a fungus) convert sugars from malted barley into alcohol and CO2. This is why sanitation is often regarded as THE most important step in the homebrew process: you want to make sure the yeast is the only organism present in the beer.
This is where sour beers flip the script! Bacteria is deliberately added (kettle souring) OR receives an open invitation (spontaneous fermentation) to the beer making process in order to create sour flavor.
Bacteria & Acids
“Sour” flavor is our palate’s perception of acidity in beer. Acids created by bacteria (the good kind) like lactobacillus are what you taste when you sip on sours. Lactobacillus is in fermented foods like tangy yogurt & tart kombucha. It’s also naturally occurring in our digestive systems. When added to wort (sugary, unfermented beer) lactobacillus converts those sugars into lactic acid, which is responsible for that tart taste.
In a situation where unwanted bacteria get into your brew – usually through improper sanitation – wild bacteria can quickly contaminate a batch, making it undrinkable. Acetobacter bacteria will convert sugars into acetic acid (like the acids in vinegar). This isn’t so bad in small amounts, but is considered to be an off flavor in beer and is perceived as vinegar on the palate. Though, in some sour beers – like lambics – acetic acid can be a welcomed flavor.
Methods for introducing bacteria to produce sour beers
Spontaneous Fermentation
There are 2 main ways to craft a sour beer. The first is open or spontaneous fermentation, which relies on wild yeast and bacteria in the air & environment to inoculate the wort.
Just like wines vary region to region due to “terroir,” (the natural environment, including soil & climate) spontaneously fermented sour beers are a product of the place where they’re made. This technique relies on wild yeast & microbes in the air to land in the wort as the beer cools in shallow, open vessels (think large bathtubs).
Spontaneous fermentation is quite unpredictable and can be extremely slow, requiring several months or years before a beer is ready to enjoy. This method is NOT recommended at the homebrewing level, as you’re more likely to invite unwanted wild bacteria into your beer and create an undrinkable brew.
Lambic
This traditional Belgian style is a perfect example of spontaneous fermentation. True, authentic lambics are only produced by a few remaining breweries in Belgium, like Cantillon. The brewery gladly welcomes wild yeast & bacteria inside through open windows and cool Belgian air. These “bugs” in the region are responsible for the cidery, sour lambic character. The brewhouse and its barrels, teeming with microorganisms, and even its cobwebs are just as much a part of the fermentation process as the malts & hops.
Kettle Souring
Many modern sour ales are created using a much quicker method called Kettle Souring. This technique gives the brewer much more control over the process, timing and flavor. It’s widely used by homebrewers and commercial craft breweries alike for its efficiency and clean sour finish.
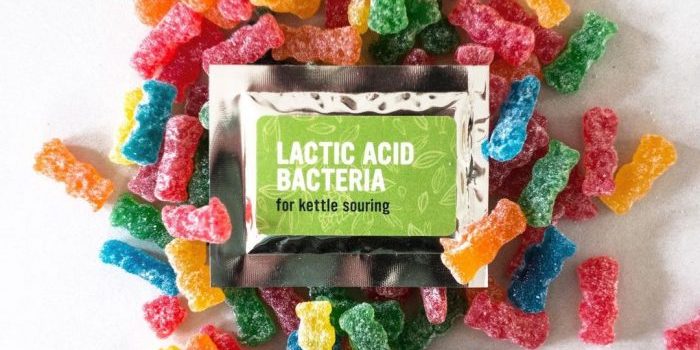
Lactobacillus (lactic acid bacteria) is added to sugary wort – freshly brewed & chilled – before hops or yeast are added. The bacteria can come in dry, liquid, or even tablet form.
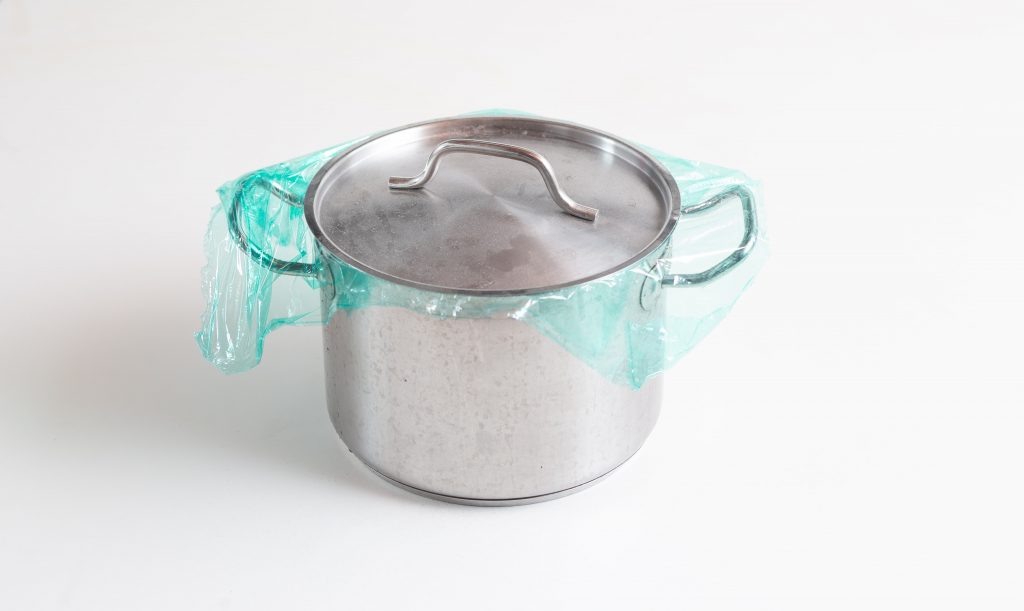
In the securely sealed kettle, using plastic wrap & a lid to keep other bacteria out, lactobacillus feasts on fermentable sugars for 1 to 4 days. A longer kettle sour will produce more lactic acid & tart flavor. After kettle souring, wort is boiled again to kill the bacteria and lock in its sour taste. Then the yeast can be safely added to begin fermentation.
Berliner Weisse
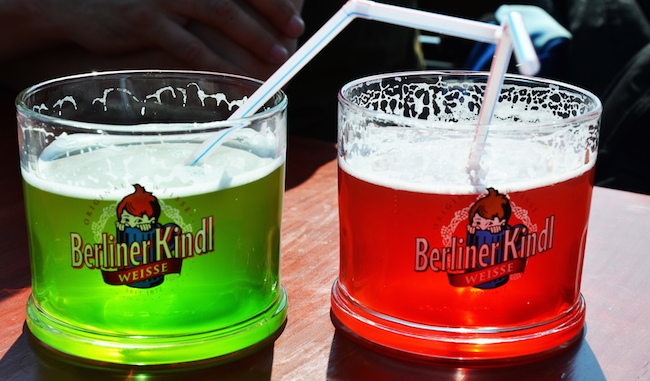
image via enjoyfoodwine.com
Originating near its namesake city, German Berliner Weisse is the sour beer style that has inspired much of the American craft beer community’s sour beer pursuits. Because this style is crafted using lactic acid bacteria, Berliner Weisse is much easier to replicate (and experiment with). It’s defined by its low ABV, gentle tartness and clean finish. Traditionally, Berliner Weisse is served alongside fruit or berry syrups to add sweetness and balance the sour flavor.
Florida Weisse & American Sour Ales
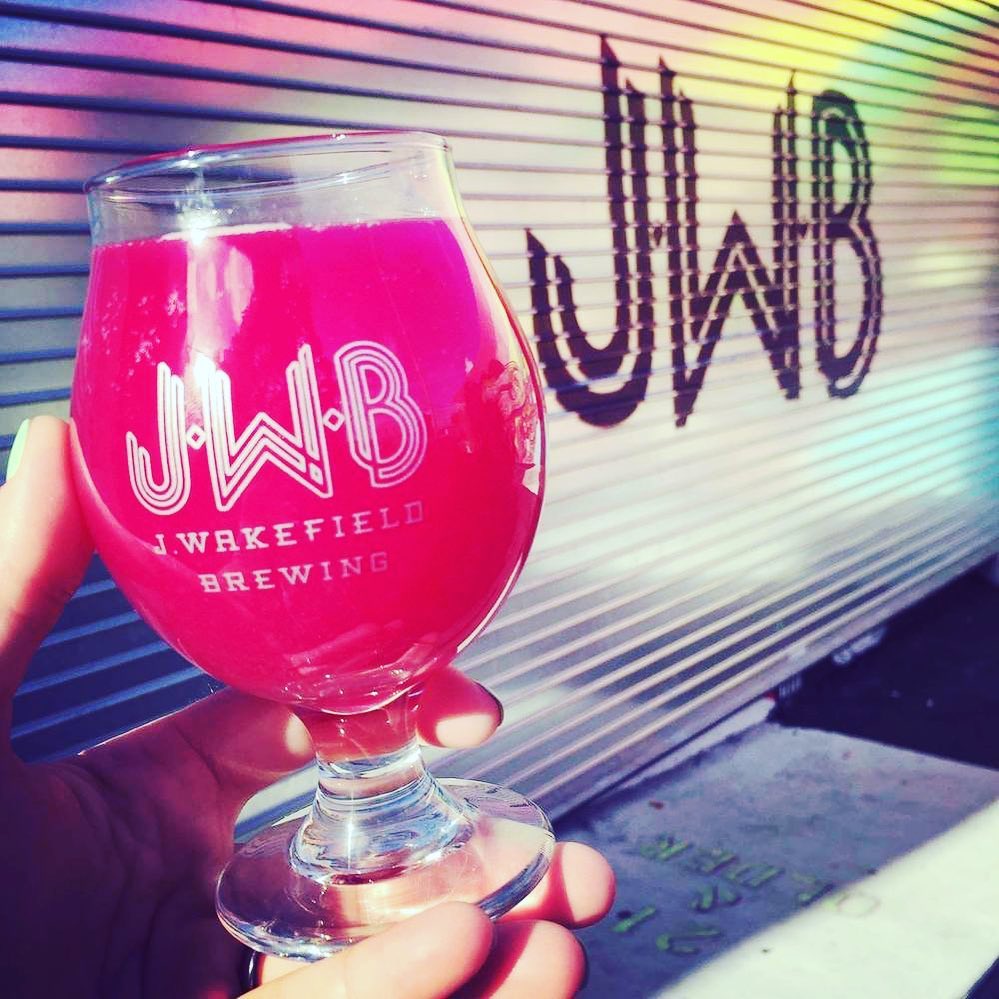
image via @jwakefieldbeer on Instagram
While sour beer styles have been around for centuries throughout Europe, here in America we’re still learning, experimenting & creating our own rules as we explore the possibilities of sours. We’re crafting our own interpretations of traditional styles that incorporate exciting ingredients like hibiscus, dragon fruit, lactose (“pastry sours”) or loads of hops (sour IPAs). A prime example of an American take on a classic sour: the Florida Weisse.
Brewed in 2009 by Doug Dozark, the first Florida Weisse – “Rainbow Jelly Donut” – featured lime zest and whole fresh raspberries. The combination of high fruit content and bright acidity make for a style that people hadn’t seen in the craft beer community yet.
The style takes inspiration from the fruity syrups traditionally served with Berliner Weisse. But Florida Weisse is defined by indulgent use of tropical fruit during the beer making process – often featuring varieties that can only grow in our humid climate. Several pounds of vibrant fruit per batch produce signature electric colors in your glass.
How to brew your own sour beer
So with all this newfound knowledge, you’re probably wondering “How do I scale down the souring process at home? What is the best beer making kit to use for my first sour? How do I get my hands on lactic acid bacteria?” Let’s get into it!
What is the best beer making kit to use for your first sour?
Embarking on your very first homebrew, especially if it’s a sour beer, means there are a lot of variables and important steps involved. Make things easier and guarantee a fantastic finished beer by using a comprehensive kit.
There are only a handful of DIY sour beer kits on the market & surprisingly many of them don’t actually include everything you need to brew & kettle sour, meaning you’ll have to source your own yeast, sanitizer, or even find your own bacteria. We’ve compared the top sour beer kits currently available so you can determine the best one for your first homebrewed sour:
|
Beer Kit |
Cost: |
Yeast Included? |
Sanitizer Included? |
Souring Method: |
Equipment Included? |
| Northern Brewer: Funktional Fruit Sour 5 gallon Extract Beer Recipe | $37.99 base price | No. Add-ons range from $3.50 – $11 | No | Kettle souring with included liquid Lactobacillus | No. Just ingredients to brew a 5 gallon batch. |
| MoreBeer!: Sour Belgian Blond 5 gallon Extract Beer Brewing Kit | $39.99 base price | No. Add-ons range from $4 – $14 | No. Add-ons start at $3.99 | Souring bacteria NOT included. Must source your preferred bacteria. | No equipment & no grain steeping bag included. |
| Brooklyn Brew Shop: Session Sour 1 gallon All-Grain Beer Making Mix | $16 | Yes | No | Kettle souring with included lactobacillus tablet. | No. Just ingredients to brew 1 gallon. |
| Brewer’s Best: Pucker Peach Sour Ale 5 gallon Beer Kit | $51.50 | Yes | No | Sour yeast used during fermentation, capable of producing alcohol & lactic acid. Does pose a risk of contaminating your fermenter for future batches (making them all sour). | No. Just ingredients to brew 5 gallons. |
| Craft a Brew: Florida Weisse 1 gallon Beer Brewing Kit | $48 | Yes | Yes | Kettle souring with included lactobacillus. | Yes. Need to source swing top bottles to carbonate. |
What is the best beer making kit for your first sour based on all these variables? We think Craft a Brew’s Florida Weisse 1 gallon sour beer kit is ideal for the new brewer because it includes everything you need to get started & you won’t be nickel-and-dimed for every ingredient or component required of a sour. Everything is included in the price, in one box for convenience and confidence as you kettle sour your first beer. The equipment in this kit is also reusable for future batches & the instructions in the kit teach you how to brew with fruit!
If you’re already a homebrewer who is looking to brew your first sour, Craft a Brew offers a 1 gallon Florida Weisse Recipe Kit & a 5 gallon Florida Weisse Recipe Kit. These recipe kits include all the ingredients needed to brew, kettle sour & ferment a 1 or 5 gallon batch with your own equipment.
What’s included?
This 1 gallon beer brewing starter kit comes with ingredients, sanitizer & reusable equipment to brew your first beer & many more after that. A 1 or 5 gallon recipe kit includes the items in bold:
-
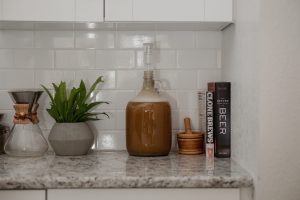
- 1 gallon glass carboy
- Funnel
- Racking Cane
- Transfer Tubing & Tube Clamp
- Airlock
- Thermometer
- Guide to Craft Brewing
- Sanitizer
- Kettle Souring Instructions
- Wheat Dry Malt Extract
- Tettnang Hops
- Flaked Wheat & Carapils Steeping Grains + Grain Steeping Bag
- Lactic Acid Bacteria
- Yeast
What else will you need?
- 2 bags of ice (this beer will need to be chilled with an ice bath 2 separate times)
- A large brew kettle with a lid
- Plastic Wrap (used for kettle souring)
- Ten 12oz swing top bottles or pry-off bottles & caps, per gallon of beer
OPTIONAL:
- 0.5 – 1 lb of your preferred fruit, per gallon of beer (this beer is also delicious without fruit)
- A blender (to puree fruit)
Brewing with fruit
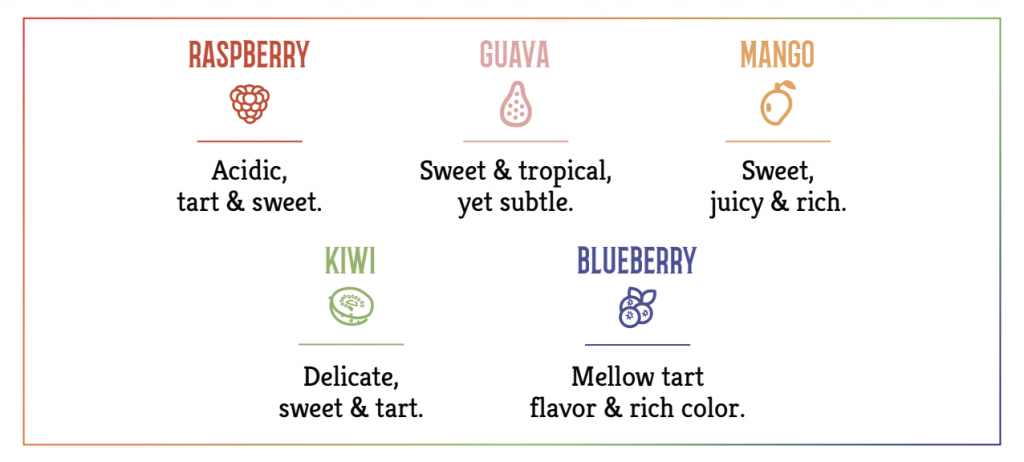
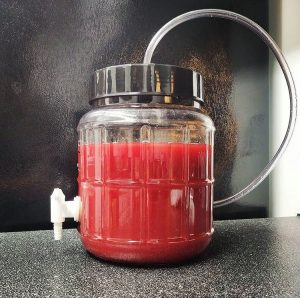
We find that bright tropical fruit yields the best results. Try vibrant raspberries for a pinkish red hue, blueberries for a purple-y red pour or mango for a rich golden yellow color.
We recommend using 0.5 Lb – 1 Lb of fruit per gallon of beer (that’s 2.5 – 5 Lb for a 5 gallon batch). If you don’t have access to fresh, whole fruit you can certainly use alternatives: frozen fruit, pre-made purees or 100% fruit juice.
image via @sharkbaitbrewingco on Instagram
-
-
- Pour as close to a gallon of water into your brew pot (at least 2.5 gallons if brewing a 5 gallon batch). Be sure to leave at least a few inches of room to prevent boil overs. Heat on your stovetop until it reaches 155 ℉.
- If you plan to add fruit to your Florida Weisse, reduce the water volume as needed to ensure the wort will fit into your fermenter.
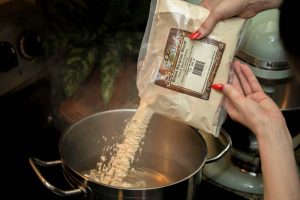
- While water is heating, pour the specialty grains into the grain steeping bag & tie off the top. Once water reaches 155 ℉, steep the grains for 20 minutes while closely maintaining the temperature. Remove bag & discard.
- Bring the wort to a boil, but once you see the first boiling bubble remove the pot from the burner.
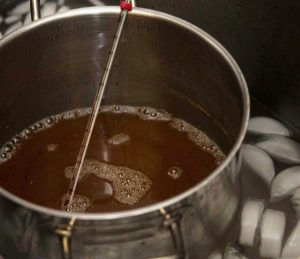
- Slowly stir in the Dry Malt Extract. Do not let it clump or stick to the pot. Once completely dissolved take the pot off the burner and place into an ice bath in your sink & chill the wort to 100 ℉.
-
-
- PRO TIP: At this point you should be monitoring your brew pot at all times because wort can easily boil over and make a mess! If you do start to have a boil over, turn off the heat & blow on the foam.
-
-
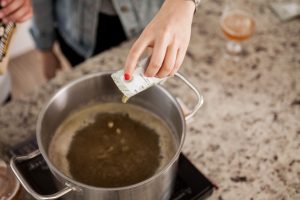
- Once temperature is 100 ℉ or cooler, remove from the ice bath & add packet of Lactic Acid Bacteria to the kettle.
-
The next 1 – 4 days: Kettle Souring
-
-
- Place a layer of plastic wrap on top of the brew kettle to cover & place the lid on top of the pot. Let sit untouched & undisturbed on your countertop for 1 – 4 days at room temperature. The longer you kettle sour, the more intense the sour flavor. Taste with a sanitized spoon daily until the flavor is to your liking. Kettle souring can be accelerated at temperatures between 80 – 100 ℉ if you are in a hurry.
-
Brew Day Resumed: Adding Hops & Fruit
-
-
- After kettle souring, remove the lid & plastic wrap. Bring the contents of the pot to a slow rolling boil. This step kills off the bacteria to prepare the wort for yeast.
- Add the Tettnang hops and start timing for a 60 minute boil.
-
-
-
- Prepare your fruit puree now by blending the fruit (peels, rind removed if applicable).
- Add the puree with 2 minutes left in the 60 minute boil.
- After the 60 minute boil is over, turn off your burner and remove the pot from heat.
- Cool down the wort as quickly as possible – again – with an ice bath. Temperature must be below 75 ℉ before it is safe for the yeast. Put a lid on the pot while it cools to avoid contamination. (Remember, wild yeast & bacteria are all around us!)
-
-
-
- While wort is chilling, sanitize your fermenting equipment (carboy, stopper, funnel, etc.) & let dry on clean paper towels.
- Once wort is 75 ℉ or below transfer the wort into your sanitized fermenter. If the volume is below 1 (or 5) gallons, add cool water to reach the fill line.
-
PRO TIP: If you have one, try pouring wort through a fine mesh strainer to separate hop debris and kettle sludge from the wort.
-
-
- Add your yeast to the fermenter.
- Plug the fermenter with the sanitized stopper and plug the hole with your clean thumb. Shake vigorously for over a minute to properly aerate & create an oxygen-rich environment for the yeast.
-
PRO TIP: After aerating you should avoid agitating or shaking your fermenter any further in order to avoid oxidation. Aeration is good, while oxidation is bad. It can cause stale off-flavors in your finished brew.
-
-
- Install your airlock or blow-off tube. Fermentation should begin within 24 – 48 hours & you’ll start seeing foam, bubbling & other signs of fermentation.
-
-
-
The next 14 days: Fermentation
-
-
-
- Let your beer ferment for 2 weeks in a cool (60 – 75 ℉) place that is out of direct sunlight. Mark your calendar for 14 days from now – this will be your bottling day.
- Expect to see a lot of fermentation activity between 12 – 72 hours after adding yeast. After that the activity will slow down significantly for the remainder of the 2 week period, though the yeast is still hard at work.
-
Bottling Day
-
-
- Sanitize your siphoning & bottling equipment. Let dry on clean paper towels.
- For a 1 gallon batch, mix exactly 2 Tablespoons of white table sugar with 1.5 cups of water in a large pot. (Use ⅔ cup sugar and 2 cups water for a 5 gallon batch.) Bring to a boil, then let cool. This mixture will help carbonate your beer in bottles by giving yeast more ‘fuel’ to create CO2.
- Once cool, siphon beer from your fermenter into this pot to mix. Stir gently with a spoon.
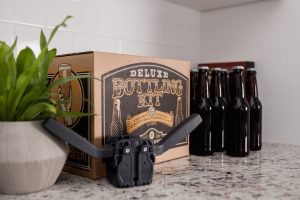
- Now, siphon beer & sugar mixture from the pot and into bottles. Cap to seal.
-
PRO TIP: Siphons are much easier with a friend to help. If you like brewing solo, try a mini auto-siphon. WIth a few pumps this tool starts the flow for you. The best $10 you’ll ever spend.
The next 14 days: Bottle Conditioning
-
-
- Condition bottles in a room temperature, dark place. After 2 weeks the bottles can be refrigerated to lock in the carbonation.
- Enjoy!
-
If this post has you feeling thirsty for a homebrewed sour, shop Craft a Brew’s Florida Weisse beer making kit today!
Learn more about Craft a Brew’s extract beer kits on the blog: “What is an extract beer kit?”, “Choosing The Best At Home Beer Brewing Kit” & “How to use a beer making kit – homebrewing 101.”
