22 Sep How to use a beer recipe kit to brew Halloween candy beer
Fall is one of the best seasons for craft beer drinkers – Oktoberfests and Pumpkin Ales are back on taps & on shelves. It’s also a prime season for candy lovers. Craft brewers often experiment with new ingredients and new flavors, so why not combine the best of both the candy and beer worlds? In this post you’ll learn how to use a beer recipe kit to brew three Halloween candy inspired ales!


If you aren’t up for crafting your own Halloween homebrew this year, we’ve also compiled our favorite candy & beer pairings!
Taking cues from candy

While you may want to toss Kit Kats into the brew, it’s not that simple. Brewing with actual candy would add sugar that would simply be fermented out, add oils that can zap head retention, and could make quite the mess. In this post, we’ll cover a few ingredients and techniques that replicate Halloween candy without using any actual candy.
The foundation of a candy brew

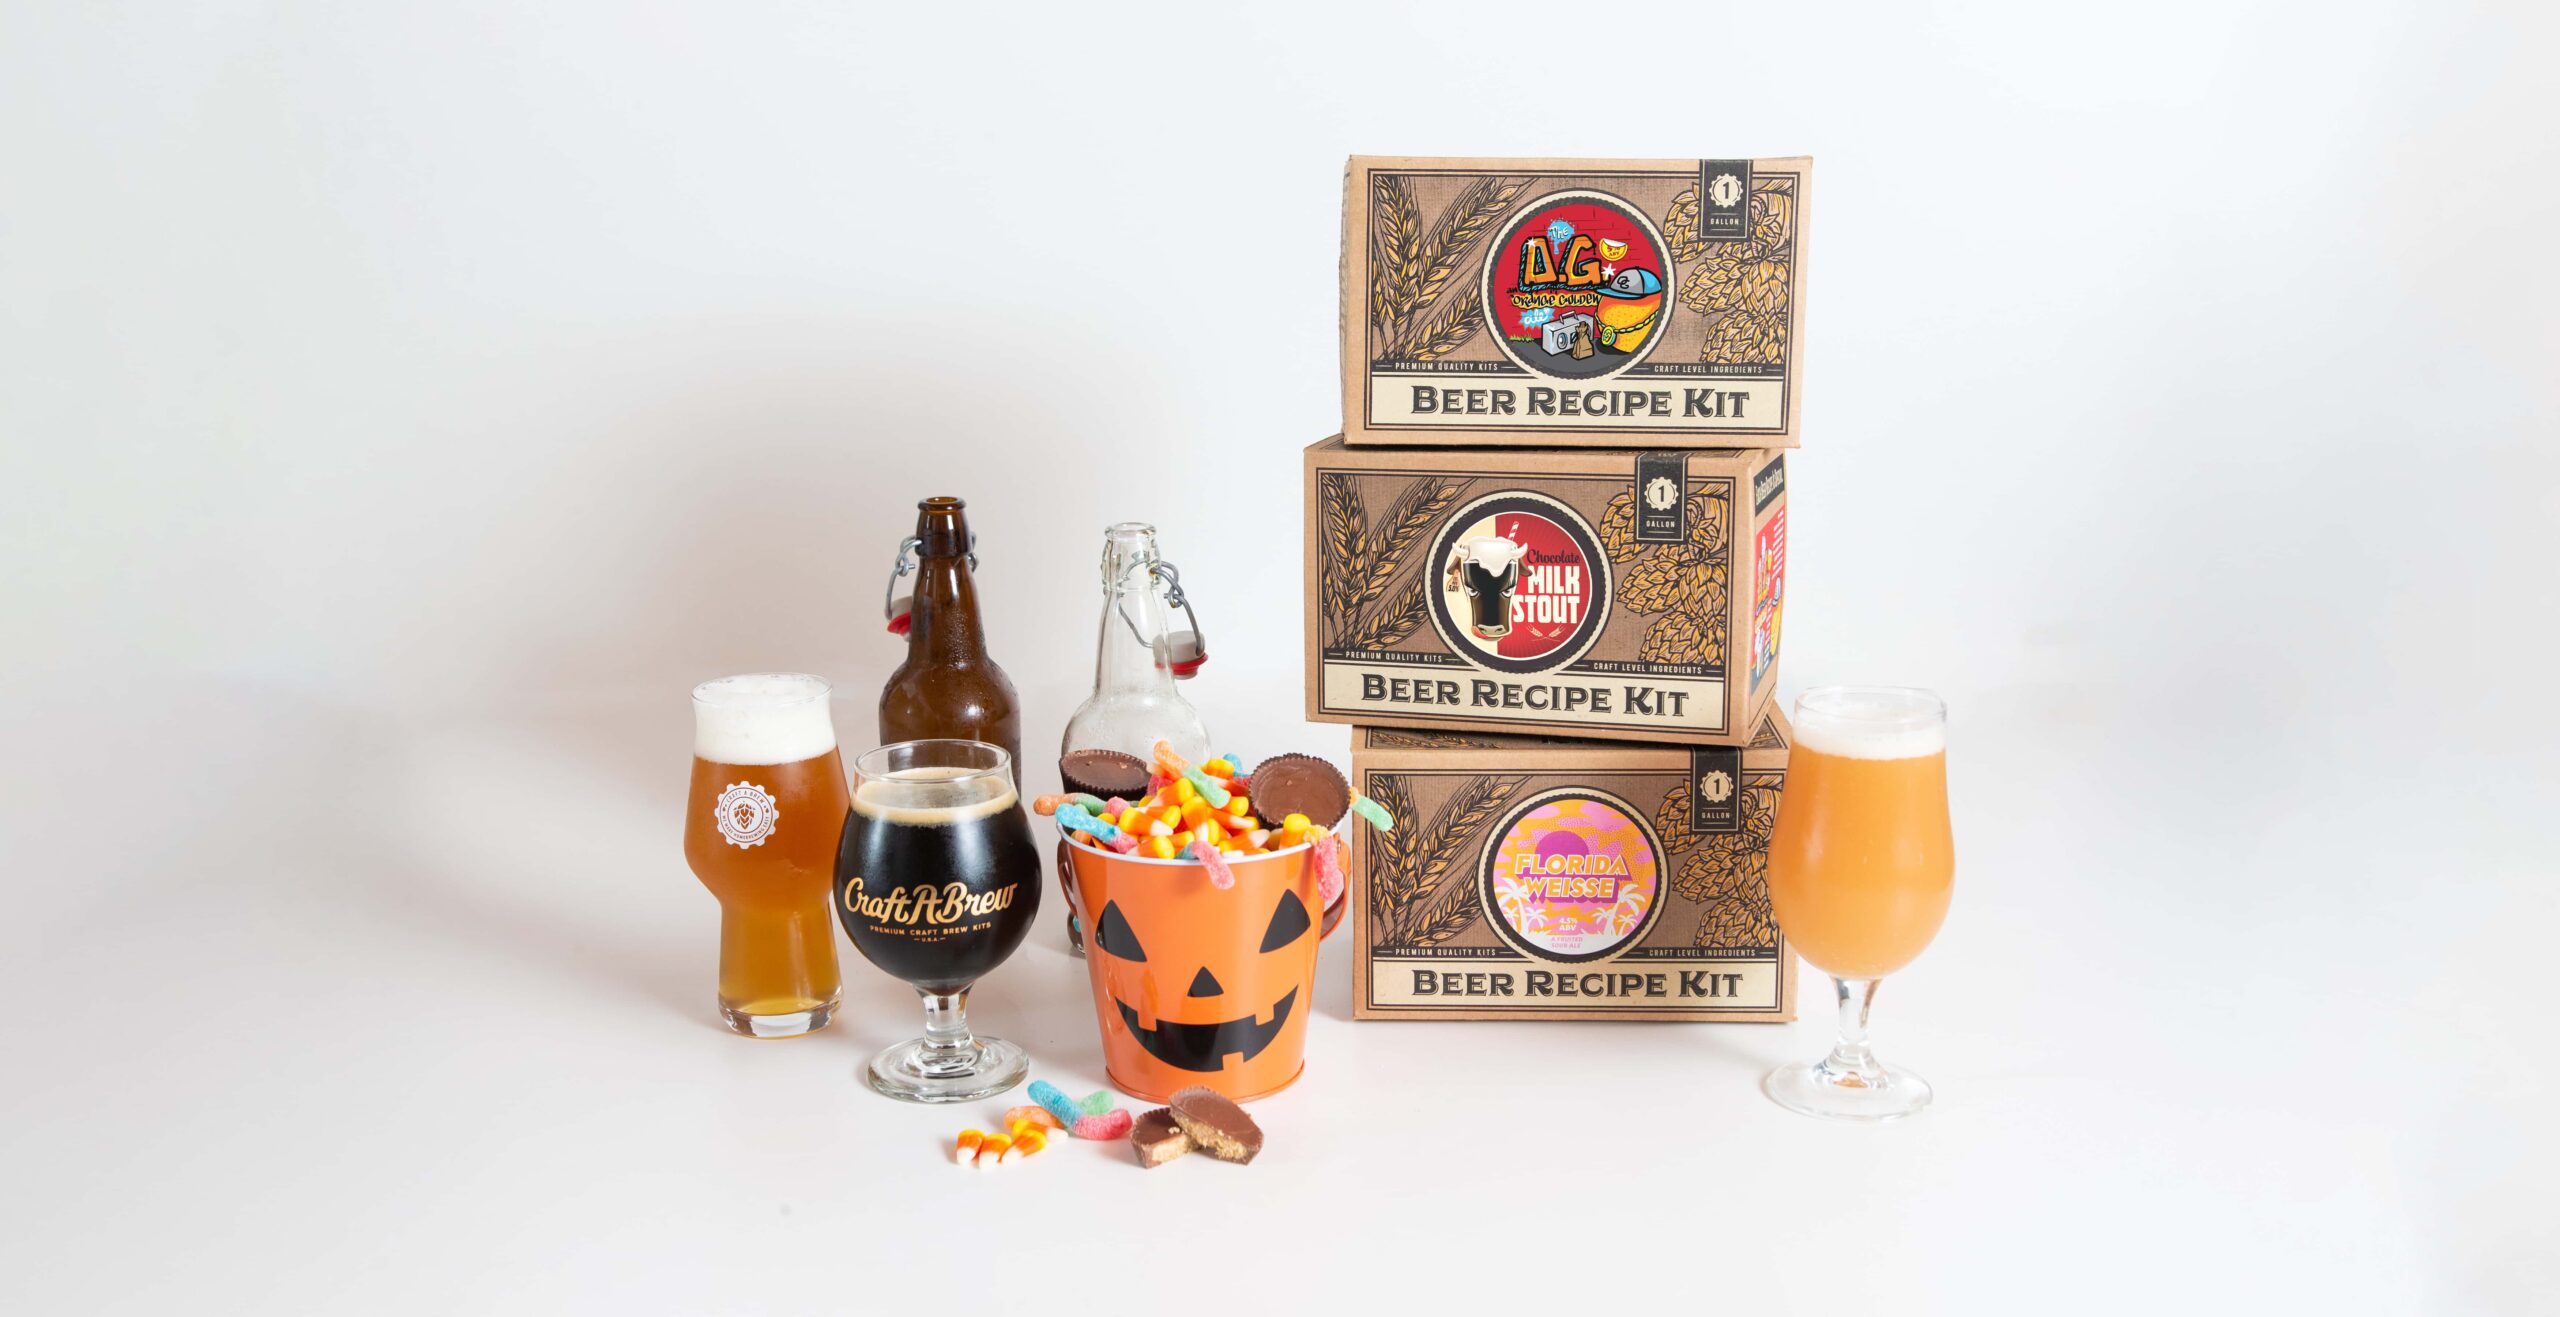
The 3 Halloween candy homebrews in this post use Craft a Brew beer kits as the foundation: Chocolate Milk Stout, Orange Golden Ale & Florida Weisse. Each beer recipe kit includes the ingredients needed to brew 1 or 5 gallons of beer: malt extract, grains, hops & yeast. We’ll walk you through how to use a beer recipe kit plus 1-2 special ingredients found at the grocery store to craft a Halloween candy ale!
Our 1 gallon Beer Recipe Kits or our 5 gallon Beer Recipe Kits are ideal if you already have fermenting equipment. If you’re new to brewing & need equipment, try our complete Home Beer Brewing Kits, which include a 1 gallon glass jug, thermometer, funnel, airlock & more PLUS the ingredients. We also have a New Brewer Starter Kit for brewing 5 gallon batches, which includes The Catalyst Fermentation System, your first batch of ingredients & other accessories to get you started.
Chocolate Peanut Butter Cup Stout

The trick to this treat is peanut butter powder, dissolved into a little bit of a neutral spirit (like vodka). This Reese’s inspired stout starts with our Chocolate Milk Stout beer recipe, which includes dark base malts, chocolate specialty grains, cacao nibs, lactose and Cluster hops.
Homebrewing with peanut butter
Peanut butter contains a lot of oil, which can reduce head retention & mouthfeel, so peanut butter powder, like PB2, is used instead! You’ll need 2.4 oz of peanut butter powder (per gallon of beer) and some vodka (or other neutral spirit) to prepare the powder, which is added after 2 weeks of fermentation & ages for 1 more week before bottling.
How to use a beer recipe kit to brew a Chocolate Peanut Butter Stout
BREW DAY
-
-
- Pour as close to a gallon of water as possible into a pot – or at least 2.5 gallons if brewing a 5 gallon batch – while leaving a few inches of headspace. Heat until water reaches 155° F.
-
-
-
- As water heats, place the included specialty grains into the included grain steeping bag and tie off the top. Once water reaches 155° F, steep the grains for 20 minutes while maintaining the temperature. Then, remove the bag and discard.
-
-
-
- Bring water to a boil. Once a boil is achieved, turn off the burner & slowly stir in the included Dark Malt Extract and Lactose Sugar. Do not let it clump or stick to the bottom. Once all of the malt extract is completely dissolved, turn the heat up to medium-high and bring the wort up to a slow rolling boil.
-
-
-
- Add the packet of Cluster Hops (Bittering) to the pot and start timing for a 60 minute boil.
-
-
-
- Add the packet of Cluster Hops (Late Bittering) 30 minutes before the end of the boil.
-
-
-
- After the 60-minute boil, turn off the burner and remove the pot from heat.
-
-
-
- Cool down the wort as quickly as possible by placing it in an ice bath in your sink OR by using a wort chiller. The wort must be below 75° F before it is safe for yeast. Put a lid on the pot while it cools down to avoid contamination.
-
-
-
- While wort chills, sanitize fermenting equipment (fermenter, lid, rubber stopper, thermometer, airlock, etc.) along with the yeast pack and a pair of scissors.
-
-
-
- Once wort cools down to 75° F or lower transfer it to your fermenter. Try to leave any thick sludge in the pot OR use a fine mesh strainer to filter out sediment.
-
-
-
- You may notice some evaporation occurred during the boil. If so, add more cool water as needed to reach your full 1 or 5 gallon volume.
-
-
-
- Use sanitized scissors to open the yeast pack and add yeast to the wort. Then, aerate the wort by sealing the fermenter and shaking for at least 60 seconds – this provides the yeast with an oxygen-rich environment.
-
-
-
- Seal your fermenter. Install a blow-off tube for the first few days of fermentation when foaming and bubbling are most active. Once fermentation calms down, you can replace the tubing with an airlock.
-

-
-
- Let this beer ferment for 3 total weeks in a cool (60-75° F) dark place. Ingredients will be added to the fermenter during this timeframe.
-
THE NEXT 3 WEEKS: FERMENTATION
-
-
- Expect to see a lot of fermentation activity between 12-72 hours after adding the yeast. There will be foam on the surface of the beer and you will see bubbles in the airlock. Fermentation will eventually calm down & you may not see much activity for the remainder of the 3 weeks.
-
-
-
- After one week of fermentation it is time to add the packet of Videri Cacao Nibs to the fermenter. No need to stir or mix.
-
-
-
- After 2 weeks of fermentation it’s time to add the peanut butter powder. You’ll add 2.4 oz (per gallon of beer) to a small bowl. Mix with just enough of a neutral spirit (like vodka) to create a slurry. Add the slurry to the carboy & let ferment 1 more week before bottling as usual. No need to mix or stir.
-
Bottling Day
-
-
- Sanitize siphoning & bottling equipment. You’ll need about ten 12oz beer bottles (or eight 16oz bottles) per gallon. Need bottles, caps or an auto-siphon? Explore our bottling equipment.
-
-
-
- Next, you’ll need to “prime” your beer for carbonation by adding sugar, which serves as fuel for yeast to create CO2. This can be done a few ways:
-
-
-
-
- Create a priming sugar solution by mixing exactly 2 Tablespoons of white table sugar & 1.5 cups of water (or ⅔ cup sugar & 2 cups water for a 5 gallon batch) in a pot. Bring to a boil & dissolve the sugar. Let cool completely. Transfer the priming sugar into a large pot or bucket. Carefully siphon your beer from the fermenter into this pot or bucket to mix with priming sugar. Once transferred, stir gently to combine. This technique helps you separate the stout from sediment without mixing it back into the beer.
- Use our pre-packaged carbonation drops. Drop 1 of these sugar tablets into each 12 oz beer bottle before filling with beer! No need to create a priming sugar solution.
-
-
-
-
- Fill each bottle to where the neck meets the bottle & seal.
-
THE NEXT 2 WEEKS: CARBONATION
-
-
- Let bottles carbonate in a room temperature, dark place. After 2 weeks bottles should be refrigerated to lock in the carbonation.
-
Candy Corn Cream Ale

The trick to this treat is mini marshmallows & vanilla extract. The foundation of this Candy Corn inspired brew is our O.G. Orange Golden Ale beer kit, which is light, crisp and refreshing. It includes sweet orange peel, which can be used or omitted depending on whether you want a citrus flair in your finished beer.
Homebrewing with marshmallows & vanilla
Mini marshmallows provide increased surface area for maximum flavor infusion & they dissolve easier. You’ll need 0.2 oz mini marshmallows (per gallon of beer). Vanilla extract is widely available & much cheaper than a vanilla bean. A little goes a long way with any extract, you only need 1.5 – 2 tsp (per gallon of beer) for vanilla flavor.
How to use a beer recipe kit to brew a Candy Corn Cream Ale
BREW DAY
-
-
- Pour as close to a gallon of water as possible into a pot – or at least 2.5 gallons if brewing a 5 gallon batch – while leaving a few inches of headspace. Heat until water reaches 155° F.
-
-
-
- As water heats, place the included specialty grains into the included grain steeping bag and tie off the top. Once water reaches 155° F, steep the grains for 20 minutes while maintaining the temperature. Then, remove the bag and discard.
-
-
-
- Bring water to a boil. Once a boil is achieved, turn off the burner & slowly stir in the included Pilsen Malt Extract. Do not let it clump or stick to the bottom. Once all of the malt extract is completely dissolved, turn the heat up to medium-high and bring the wort up to a slow rolling boil.
-
-
-
- Add the packet of Cascade Hops (Bittering) to the pot and start timing for a 60 minute boil.
-
-
-
- Add the packet of Sweet Orange Peel 5 minutes before the end of the boil. OPTIONAL: you may omit the orange peel if you don’t want citrus flavor.
-
-
-
- Add the packet Cascade Hops (Aroma) 2 minutes before the end of the boil.
-
-
-
- After the 60-minute boil, turn off the burner and remove the pot from heat. Now’s the time to add mini marshmallows to the pot – use 0.2 oz mini marshmallows (per gallon).
-
-
-
- Cool down the wort as quickly as possible by placing it in an ice bath in your sink OR by using a wort chiller. The wort must be below 75° F before it is safe for yeast. Put a lid on the pot while it cools down to avoid contamination.
-
-
-
- While wort chills, sanitize fermenting equipment (fermenter, lid, rubber stopper, thermometer, airlock, etc.) along with the yeast pack and a pair of scissors.
-
-
-
- Once wort cools down to 75° F or lower transfer it to your fermenter. Try to leave any thick sludge in the pot OR use a fine mesh strainer to filter out sediment.
-
-
-
- You may notice some evaporation occurred during the boil. If so,add more cool water as needed to reach your full 1 or 5 gallon volume.
-
-
-
- Use sanitized scissors to open the yeast pack and add yeast to the wort. Then, aerate the wort by sealing the fermenter and shaking for at least 60 seconds – this provides the yeast with an oxygen-rich environment.
-
-
-
- Seal your fermenter. Install a blow-off tube for the first few days of fermentation when foaming and bubbling are most active. Once fermentation calms down, you can replace the tubing with an airlock.
-
-
-
- Let this beer ferment for 2 weeks in a cool (60-75° F) dark place.
-
THE NEXT 2 WEEKS: FERMENTATION
-
-
- Expect to see a lot of fermentation activity between 12-72 hours after adding the yeast. There will be foam on the surface of the beer and you will see bubbles in the airlock. Fermentation will eventually calm down & you may not see much activity for the remainder of the 2 weeks.
-
Bottling Day
-
-
- Sanitize siphoning and bottling equipment. You’ll need about ten 12oz beer bottles (or eight 16oz bottles) per gallon. Need bottles, caps or an auto-siphon? Explore our bottling equipment.
-
-
-
- Next, you’ll need to “prime” your beer for carbonation by adding sugar, which serves as fuel for yeast to create CO2. Mix exactly 2 Tablespoons of white table sugar & 1.5 cups of water (or ⅔ cup sugar & 2 cups water for a 5 gallon batch) in a pot. Bring to a boil & dissolve the sugar. Let cool completely. Transfer the priming sugar into a large pot or bucket.
-
-
-
- Now you’ll add the vanilla extract. Add 1.5 – 2 tsp (per gallon of beer) to the priming sugar.
-
-
-
- Carefully siphon your beer from the fermenter into this pot or bucket to mix with priming sugar. Once transferred, stir gently to combine. This technique helps you separate the stout from sediment without mixing it back into the beer.
-
-
-
- Fill each bottle to where the neck meets the bottle & seal.
-
THE NEXT 2 WEEKS: CARBONATION
-
-
- Let bottles carbonate in a room temperature, dark place. After 2 weeks bottles should be refrigerated to lock in the carbonation.
-
Strawberry Gummy Worm Sour

The foundation of this recipe is our Florida Weisse beer kit, which includes lactic acid bacteria for kettle souring. If you prefer Warheads sour candy over sour worms, we suggest a longer kettle sour.
Homebrewing with fruit
You’ll use a 0.5 – 1 lb of strawberries (per gallon) to craft this sour pink drink! If you don’t love strawberries, you can use ANY fruit you like – it can be fresh, frozen or pre-pureed. You’ll remove skins & seeds, then puree the fruit to increase surface area for better flavor distribution. Fruit is added at the end of the boil, which helps retain as much fruit character as possible while also sterilizing the fruit.
If you prefer a citrusy sour, we recommend using the peel. You can purchase dried sweet orange peel from our site OR use fresh peel or zest. Learn more about brewing with fruit HERE & dive into the world of kettle souring HERE.
How to use a beer recipe kit to brew a Strawberry Gummy Worm Sour
BREW DAY (PART 1)
-
-
- Pour as close to a gallon of water as possible into a pot – or at least 2.5 gallons if brewing a 5 gallon batch – while leaving a few inches of headspace. Heat until water reaches 155° F.
Note: reduce this water volume accordingly for your strawberry addition (step 9) to ensure that everything will fit into your fermenter!
- Pour as close to a gallon of water as possible into a pot – or at least 2.5 gallons if brewing a 5 gallon batch – while leaving a few inches of headspace. Heat until water reaches 155° F.
-
-
-
- As water heats, place the included specialty grains into the included grain steeping bag and tie off the top. Once water reaches 155° F, steep the grains for 20 minutes while maintaining the temperature. Then, remove the bag and discard
-
-
-
- Bring water to a boil. Once a boil is achieved, turn off the burner & slowly stir in the included Wheat Malt Extract. Do not let it clump or stick to the bottom. Once all of the malt extract is completely dissolved, take the pot off the burner.
-
-
-
- Place the pot in an ice bath in the sink to chill wort to 100 °F. Once the temperature is below 100 °F, add the packet of lactic acid bacteria to the kettle.
-
BREW DAY (PART 1)

-
-
- Place a layer of plastic wrap on top of the brew kettle and place the lid on top. Let sit untouched & undisturbed on your countertop for 1 – 4 days at room temperature. The longer you kettle sour, the more intense the sour flavor. Taste with a sanitized spoon daily until it is soured to your liking. Souring can be accelerated at temperatures between 80 – 100 °F.
-
BREW DAY (PART 2)
-
-
- After kettle souring, remove the lid and plastic wrap. Bring liquid to a slow rolling boil.
-
-
-
- Add the packet of Tettnang Hops (Bittering) and start timing for a 60 minute boil.
-
-
-
- During the 60 minute boil you’ll prepare your strawberry puree in a blender. Use 1 lb of fresh or frozen strawberries (per gallon).
-
-
-
- Add strawberry puree to the pot 2 minutes before the end of the boil.
-
-
-
- After the 60-minute boil, turn off the burner and remove the pot from heat.
-
-
-
- Cool down the wort as quickly as possible by placing it in an ice bath in your sink OR by using a wort chiller. The wort must be below 75° F before it is safe for yeast. Put a lid on the pot while it cools down to avoid contamination.
-
-
-
- While wort chills, sanitize fermenting equipment (fermenter, lid, rubber stopper, thermometer, airlock, etc.) along with the yeast pack and a pair of scissors.
-
-
-
- Once wort cools down to 75° F or lower transfer it to your fermenter. Try to leave any thick sludge in the pot OR use a fine mesh strainer to filter out sediment.
-
-
-
- You may notice some evaporation occurred during the boil. If so,add more cool water as needed to reach your full 1 or 5 gallon volume.
-
-
-
- Use sanitized scissors to open the yeast pack and add yeast to the wort. Then, aerate the wort by sealing the fermenter and shaking for at least 60 seconds – this provides the yeast with an oxygen-rich environment.
-
-
-
- Seal your fermenter. Install a blow-off tube for the first few days of fermentation when foaming and bubbling are most active. Once fermentation calms down, you can replace the tubing with an airlock.
-
-
-
- Let this beer ferment for 2 weeks in a cool (60-75° F) dark place.
-
THE NEXT 2 WEEKS: FERMENTATION
-
-
- Expect to see a lot of fermentation activity between 12-72 hours after adding the yeast, especially since there’s added fruit. There will be foam on the surface of the beer and you will see bubbles in the airlock. Fermentation will eventually calm down & you may not see much activity for the remainder of the 2 weeks.
-
Bottling Day
-
-
- Sanitize siphoning and bottling equipment. You’ll need about ten 12oz beer bottles (or eight 16oz bottles) per gallon. Need bottles, caps or an auto-siphon? Explore our bottling equipment.
-
-
-
- Next, you’ll need to “prime” your beer for carbonation by adding sugar, which serves as fuel for yeast to create CO2. This can be done a few ways:
-
-
-
-
- Create a priming sugar solution by mixing exactly 2 Tablespoons of white table sugar & 1.5 cups of water (or ⅔ cup sugar & 2 cups water for a 5 gallon batch) in a pot. Bring to a boil & dissolve the sugar. Let cool completely. Transfer the priming sugar into a large pot or bucket. Carefully siphon your beer from the fermenter into this pot or bucket to mix with priming sugar. Once transferred, stir gently to combine. This technique helps you separate the stout from sediment without mixing it back into the beer.
- Use our pre-packaged carbonation drops. Drop 1 of these sugar tablets into each 12 oz beer bottle before filling with beer! No need to create a priming sugar solution.
-
-
-
-
- Fill each bottle to where the neck meets the bottle & seal.
-
THE NEXT 2 WEEKS: CARBONATION
-
-
- Let bottles carbonate in a room temperature, dark place. After 2 weeks bottles should be refrigerated to lock in the carbonation.
-
Halloween Candy & Beer Pairings
After all the Snickers & Reese’s are claimed you’re usually left with a lot of these 4 candies, making them perfect for pairing with beer. Learn how to use a beer recipe kit to create some unique and delicious flavors with these leftover treats.
Belgian Dubbel + Tootsie Rolls
Rich chewy chocolate plays nicely with the raisiny, malty sweetness in a trappist beer.

Sour Ale + Smarties
These sweet-tart tabs complement a tangy, tart sour.

Hefeweizen + Candy Corn
This sweet tri-color treat complements the banana & clove notes in a German wheat.

IIPA + Hot Tamales
Spicy food & hop bitterness intensify one another for major heat in every sip!
