27 Sep How to lager beer at home: a beginner’s guide
What is a lager?
Beer falls into two categories: ales & lagers. Light, “crispy” lagers are fundamentally different from ales. The differences lie mainly in how each beer is fermented: the yeast strain used & the fermentation temperature range.
Lagers are fermented with “bottom fermenting” lager yeast. These yeast strains require cold consistent fermentation temperatures – usually between 48 – 55°F – and typically ferment at a slower pace.
Lager yeasts are known for their “clean” finish and don’t usually lend much flavor to the finished beer. The name “bottom fermenting” dates back to 1400’s Bavaria and refers to the fact that the yeast cells collect at the bottom of the fermenting beer.
Ales are fermented with “top fermenting” ale yeast, which thrive within a warmer fermentation temperature range – anywhere from 60 to 80°F (but sometimes up to 100°F depending on the strain)!
Ale yeasts are often responsible for adding style-defining flavors & esters to a finished beer – think of the banana & clove notes you taste in a German Hefeweizen or the raisin & spice notes that are common in a Belgian Dubbel.
Compared to lagers, warmer ale fermentations are quite vigorous & turbulent and carry yeast up into the heady foam (krausen) that forms at the surface. The term “top fermenting” comes from the fact that yeast could be skimmed off the top and pitched into the next batch of beer.
Lager Beer Styles
You may be most familiar with American domestic light lagers like Budweiser or Sam Adams Boston Lager. Not all lagers are light (in ABV or color) and not all lagers are the thin, crystal clear brews you may have enjoyed in college. Lagers can be dark, smokey, brewed with wheat, etc. Here are some examples of lager beer styles:
-
- Pilsner
- California Common
- Doppelbock
- Helles Lager
- Vienna Lager
- Schwarzbier
- Ice Lager
- Eisbock
- Rauchbier
- Dunkel
- Marzen
- IPL (India Pale Lager)
Ale Beer Styles
As a category, ales have incredible variety and diversity. Most craft beers available to US beer drinkers are ales, as the category includes everything from Belgians, to stouts, to IPAs to hefeweizens. Here are some examples:
-
- Pale Ale
- Strong Ale
- IPA (India Pale Lager)
- Golden Ale
- Lambic
- Sour Ale, Berliner Weisse
- Gose
- Saison
- Farmhouse Ale
- Kviek Ale
- Amber Ale
- Blonde Ale
- Brown Ale
- Wee Heavy
- Belgian Dubbels, Tripels & Quads
- Witbier, Hefeweizen
- Red Ale
- Stout
- Porter
- Barley Wine
- Extra Special Bitter
Most homebrewers start off making ales, simply because the recipes and yeast strains are more forgiving. Ale fermentation temperatures are more easily achieved and maintained at home without much intervention. Additionally, ale yeasts often produce esters that help hide off-flavors and ale yeasts are often better at naturally absorbing off-flavors, keeping them out of your finished beer.
Many homebrewers initially avoid lagers because they don’t know HOW to lager beer or assume that it’s extremely difficult. Many new brewers are told that it’s impossible to do as a new brewer or home brewer.
Don’t let the concept of lagering intimidate you! You don’t need years of homebrewing experience to brew your own lagers and you don’t need a lot of expensive, shiny equipment, either! At its core, lagering is essentially just cold storage. We’ll dive deeper into the techniques and tips in the next few sections
How to lager beer: ingredient selection
A lager is defined by its yeast and its fermentation temperature, so choosing the right lager yeast strain is key. But there are other ingredient considerations to make when crafting your most refreshing lager, too. Let’s review!
Lager Yeast
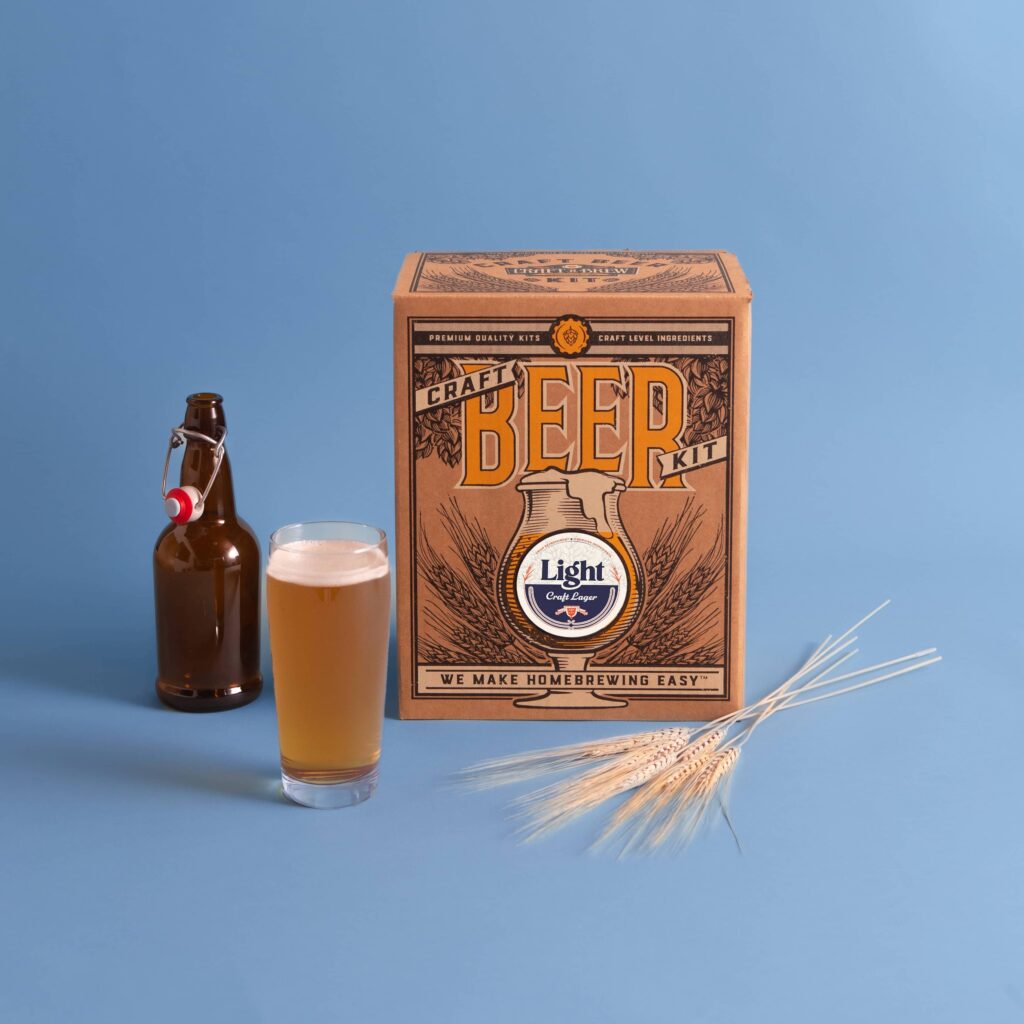
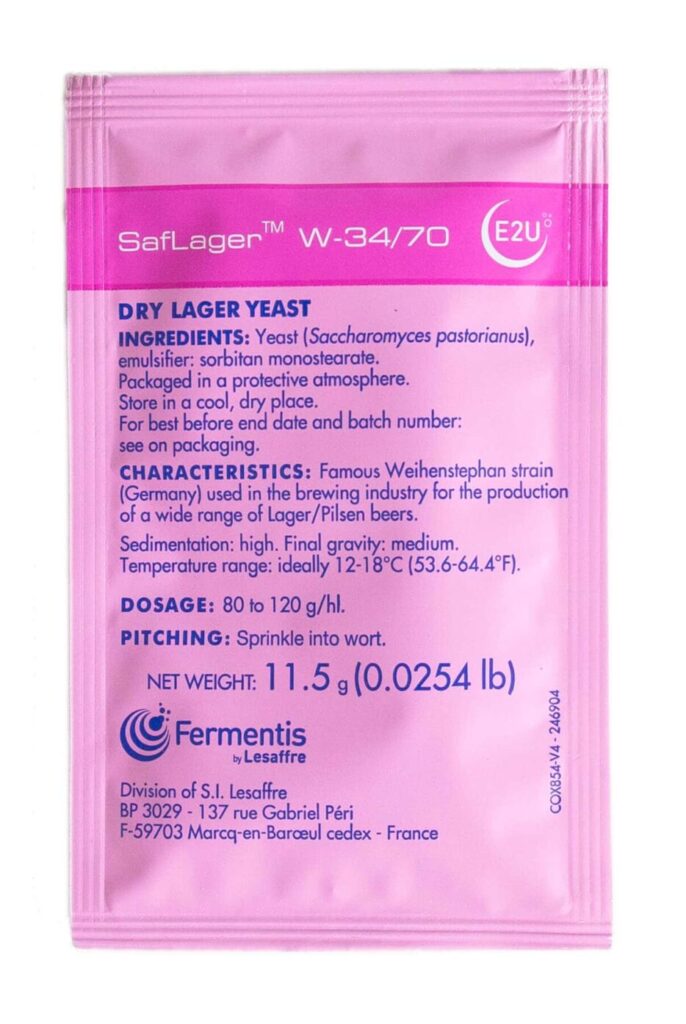
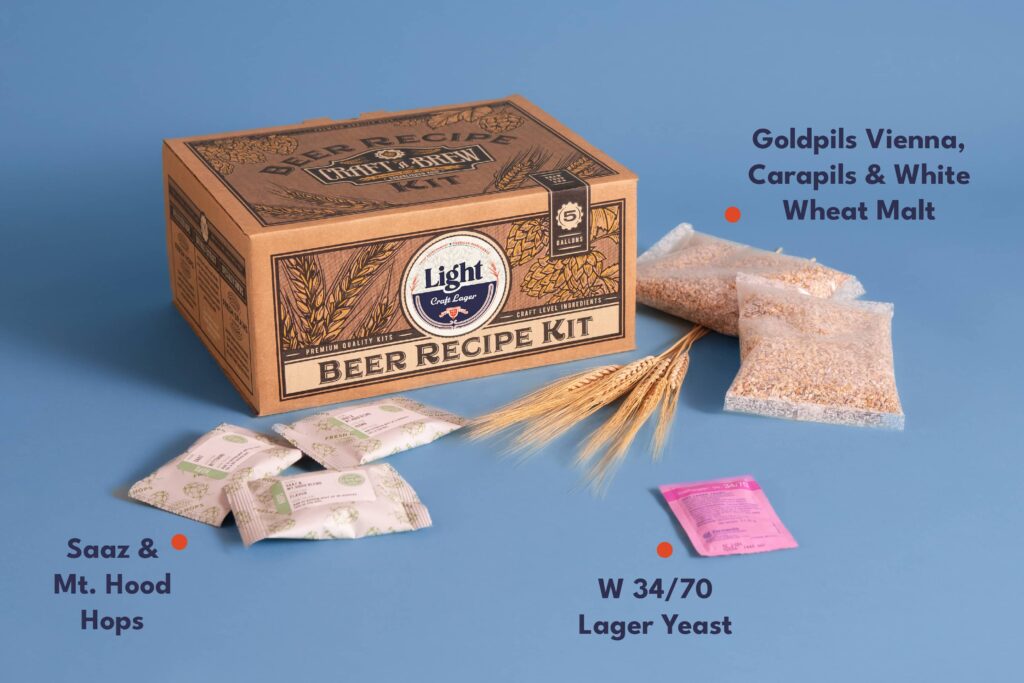
There are plenty of lager yeast strains to choose from. Our Light Craft Lager utilizes Fermentis Saflager W-34/70 yeast. It’s a wonderfully forgiving lager yeast strain that thrives in traditional cold lager temperatures, but also performs quite well in warmer temperatures without producing noticeable off-flavors. We purposefully chose this yeast strain for our lager brew kit so that it could be brewed any time of year and in a variety of temperature conditions & environments.
Not only is this a flexible yeast strain in terms of fermentation temperature, but this seemingly magical lager yeast is also quick to ferment. Most lagers require weeks (or even months) of cold storage and painfully slow fermentation. W-34/70 lager yeast is able to ferment within a similar timeline as an ale yeast.
If you want to experiment with other lager yeast strains, try Saflager S-23. This yeast strain’s ideal for making a variety of Lager styles. This strain prefers a fermentation temperature between 50-57°F, and is known for producing fruity esters.
Lager Hops
Depending on the type of lager you want to craft, you may choose to keep the hop additions restrained OR decide to make them the star of the show. For our Light Craft Lager, we wanted a refreshing, sessionable and malt-forward finished beer with just enough hops for balance in your glass.
We opted for noble Saaz hops, known for their distinct and classic aroma. This hop variety is used in Stella Artois and plenty of other Bohemian lagers & pilsners. Mild Mount Hood hops are also used in our Light Craft Lager. This hop variety is commonly used in European lagers to provide just the right amount of hop bitterness without overshadowing the malts.
Lager Grains
European lagers typically use a Pilsner malt base, while American lagers may often incorporate adjuncts like rice or corn. Some lagers may utilize dark malts (such as Schwarzbier), wheat malts (Dunkelweizen) or even smoked malts (Rauchbier).
Our Light Lager beer recipe features a Pilsen dry malt extract base, accompanied by Carapils, White Wheat & Goldpils Vienna specialty grains. Carapils improves head retention and enhances mouthfeel. White Wheat provides a sweet, malty flavor and great body. Goldpils Vienna Malt contributes light golden color and clean malt flavor that isn’t overly sweet. Overall, this grain selection gives the finished beer a soft, yet crisp, mouthfeel and notes of fresh baked bread in the glass.
What’s included in our Light Craft Lager Kit
Ingredients
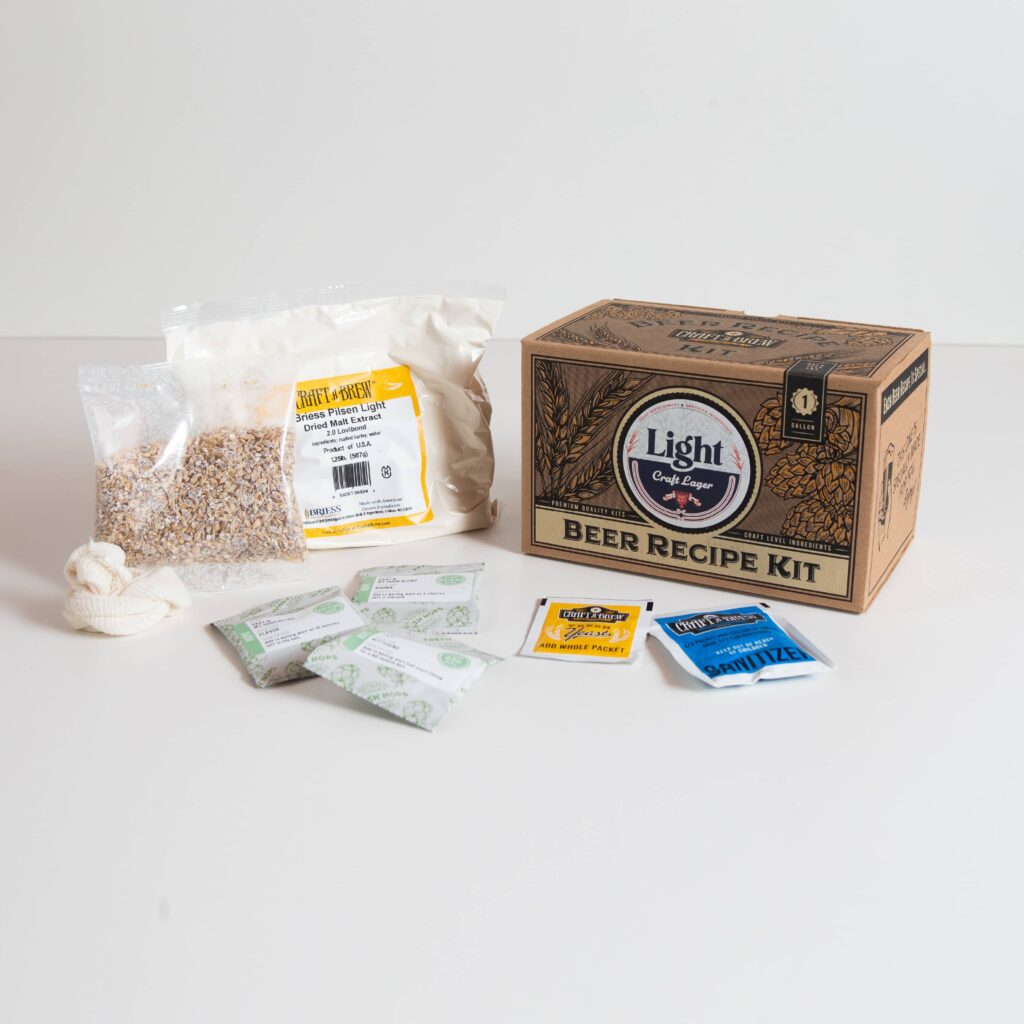
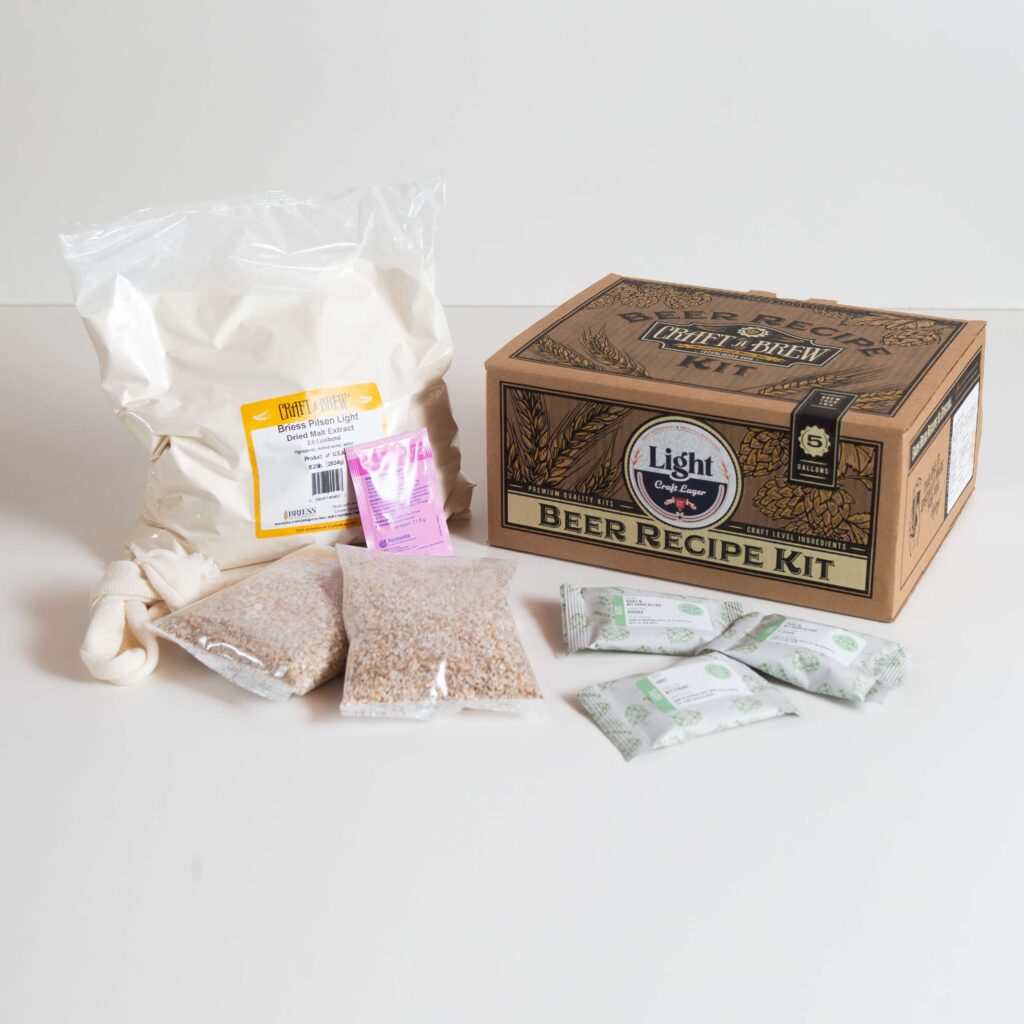
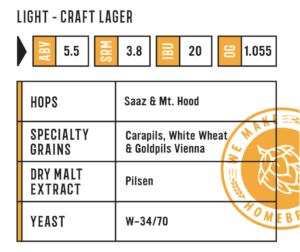
Here’s a breakdown of our Light Craft Lager recipe kit ingredients:
Dried Malt Extract
Briess Pilsen Light
Grains
Goldpils Vienna, White Wheat malt & Carapils
Grains
Saaz & Mount Hood
Yeast
SafLager W-34/70
Equipment
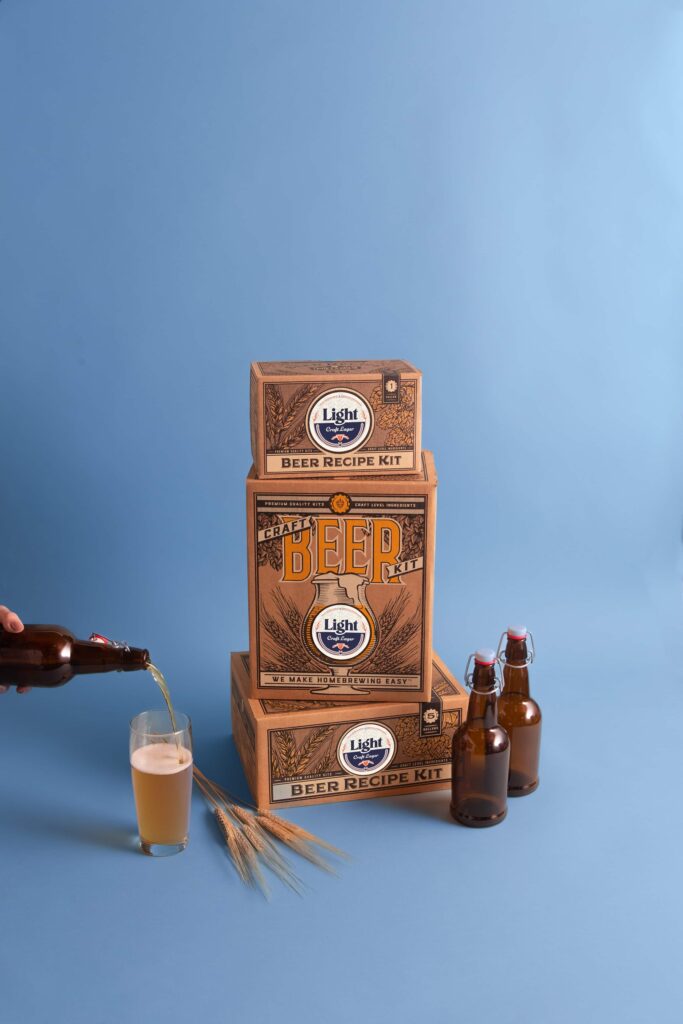
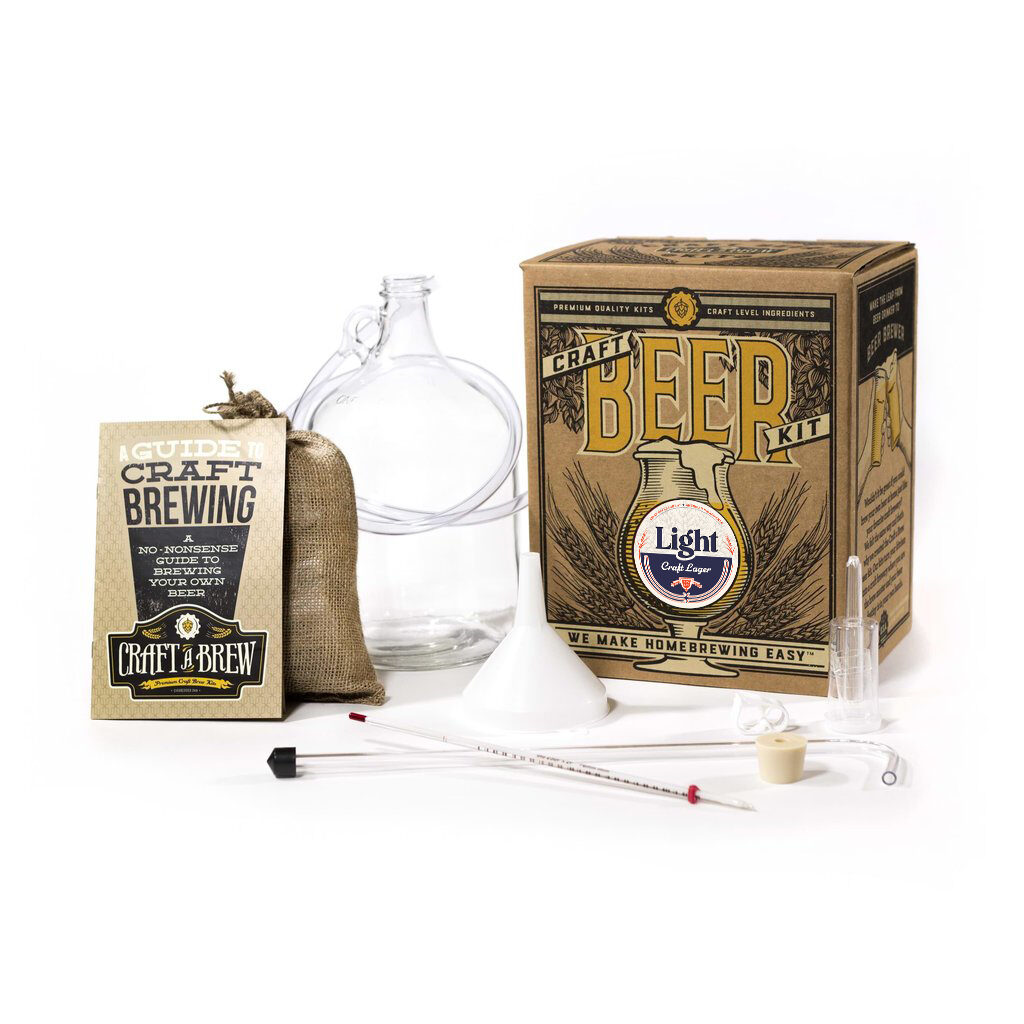
Our Light Craft Lager kit is available in 1 & 5 gallon kits, with or without equipment. Choose the best kit for you based on your homebrewing experience and set up.
If you’re new to homebrewing & need equipment to get started, this is a great option. This kit includes the ingredients to brew a 1 gallon lager PLUS reusable fermenting equipment.
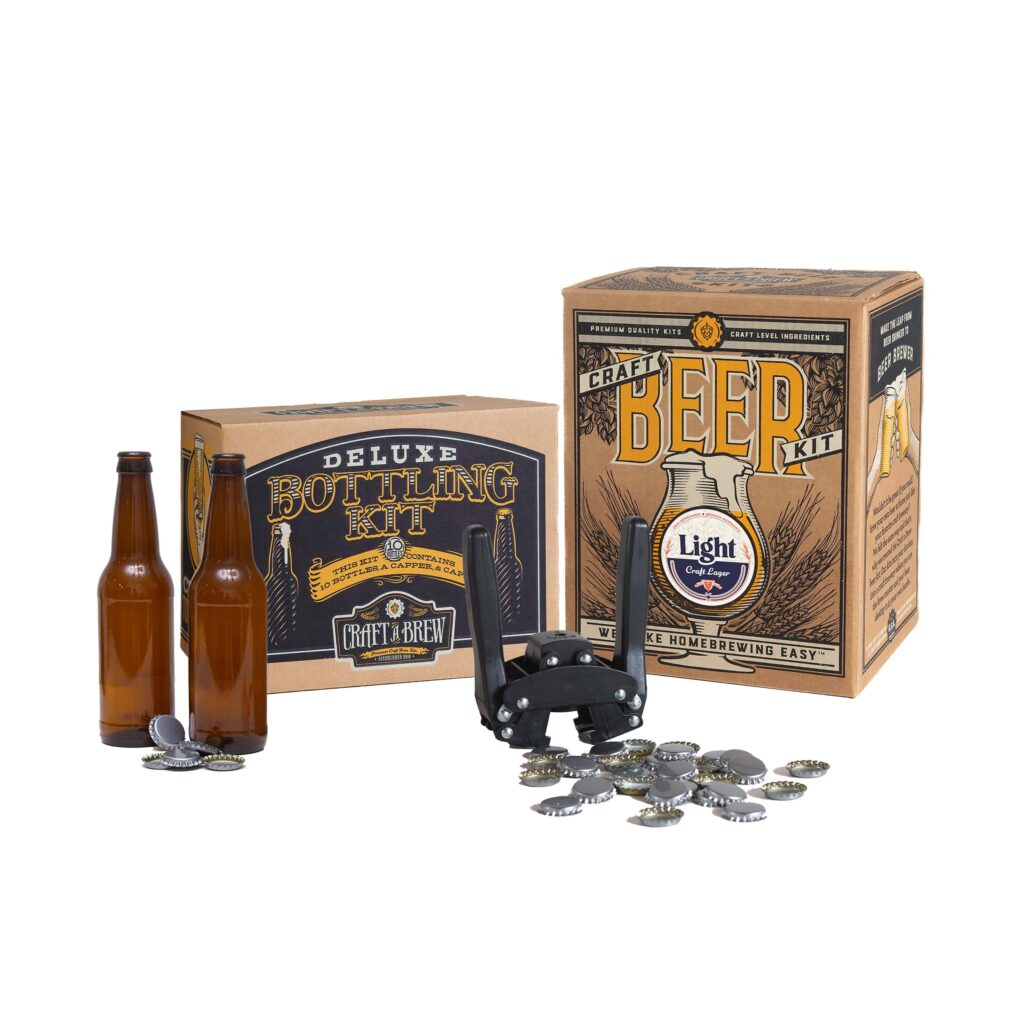
This bundle set includes a lager beer kit PLUS a Deluxe Bottling Kit. That’s ten 12oz pry-off amber beer bottles, 30 bottle caps & a capper tool.
Already have equipment? This ingredient-only kit includes everything to brew a batch for your 1 gallon fermenter.
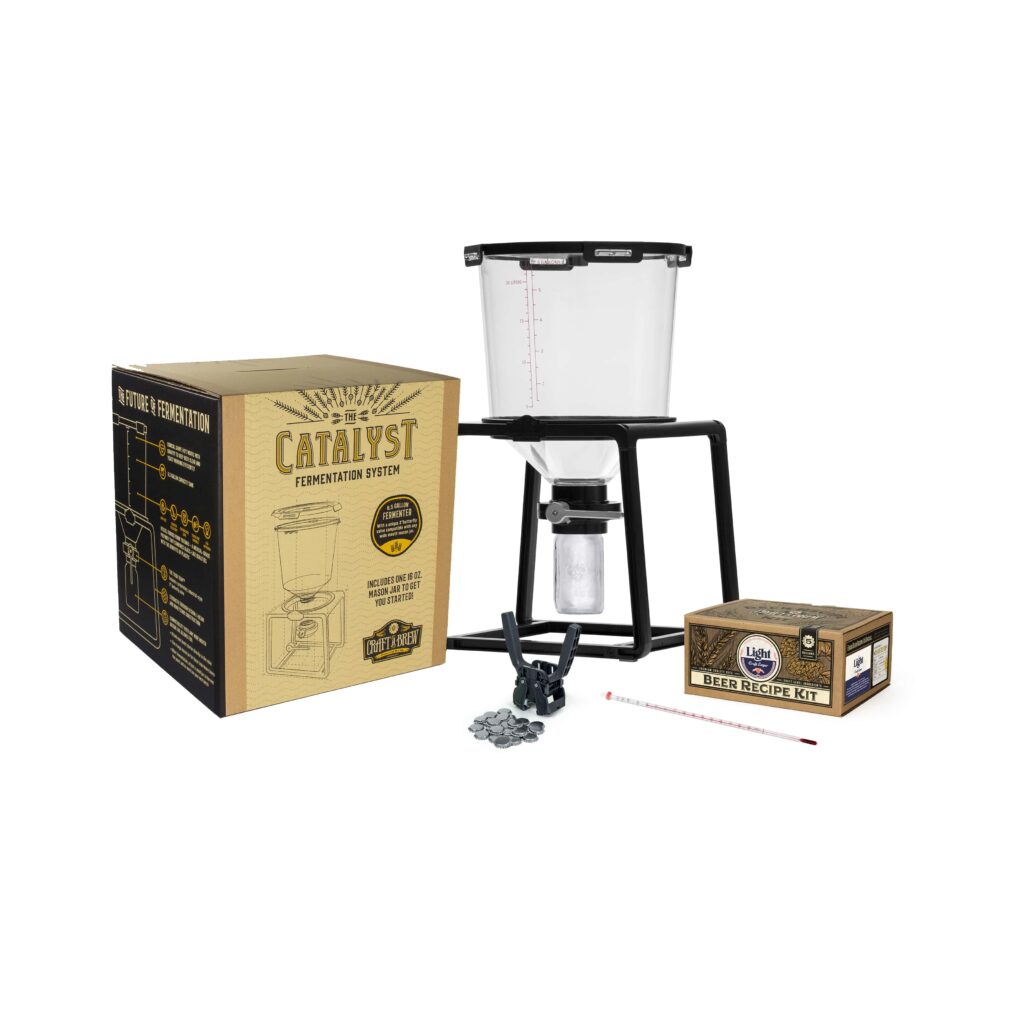
Need equipment, but want to brew large batches? This 5 gallon beer kit includes our 6.5 gallon capacity fermenter, The Catalyst Fermentation System, ingredients to brew 5 gallons of lager, a thermometer & a capper tool + 100 bottle caps.
If you’re a large batch brewer, our 5 gallon Lager recipe kit includes ingredients to brew a batch for your Catalyst Fermentation System or any 5 gallon fermenter.
How to lager beer: techniques
Remember earlier when we said “lagering” is essentially cold storage? It’s true! Lagering is a “form of beer maturation on the yeast at near-freezing temperatures.” A lager brew day & an ale brew day are nearly identical – the real differences in technique begin with fermentation. You don’t need sophisticated or expensive equipment to lager at home. Let’s review the basic techniques used to brew & ferment your best lager at home.
Chilling wort & pitching yeast
After brewing, wort (unfermented beer) must be chilled to yeast-safe temperatures before pitching the yeast. Wort chilling can be achieved with a traditional ice bath in your sink. You can also use a wort chiller to accelerate the process. Learn more about our Clover Wort Immersion Chiller.
With ale yeasts, you’ll need to chill wort to 75 °F or below. With most lager yeasts, you want to chill the wort even cooler (usually between 50-70°F). But our Light Craft Lager uses SafLager W-34/70, which can be pitched at ale temps (75°F).
Lager temperature control tips
Most lager yeasts will require longer fermentation time, but with the Saflager W-34/70 yeast strain used in our Light Craft Lager kit you can ferment in 2 weeks like most ales!
You don’t need to maintain true, near-freezing lager temperatures with W-34/70 since the yeast strain can tolerate fermentation temperatures up to 72°F. But, any efforts to maintain cooler temperatures will yield the cleanest finish and flavor in your brew.
You can maintain true lager temperatures with a few of our favorite simple DIY methods:
-
- Monitor temps with a fermometer (adhesive thermometer) attached to your carboy OR keep a lab thermometer in a glass of water near the fermenter.
-
- Store the fermenter in a location with stable, cool temperatures – like a chilly basement.
-
- Store the fermenter in a large soft cooler or an insulated bag (we like Cool Brewing brand). If you’re fermenting a 1 gallon batch a hard cooler (like an Igloo or a Coleman) is a perfect fit! Add a few ice packs or frozen water bottles and replace as needed to maintain a stable temp.
-
- Keep the fermenter in a fridge or chest freezer with a thermostat. If you have a wine fridge with a programmable temperature setting, that’s a fantastic option!
Diacetyl Rest
Whenever fermenting a lager at cold temperatures, a technique called a “diacetyl rest” is recommended. On day 10 of fermentation let the beer rise to 70°F and hold this temperature for 4 days. This temperature change allows the lager yeast to reabsorb diacetyl (a buttery off-flavor) as it finishes fermenting, cleaning up the flavor. Ale yeasts are much better at naturally absorbing off-flavors since they ferment at warmer temperatures. A diacetyl rest allows your lager yeast to do the same for a few days before bottling or kegging.
Cold Crashing
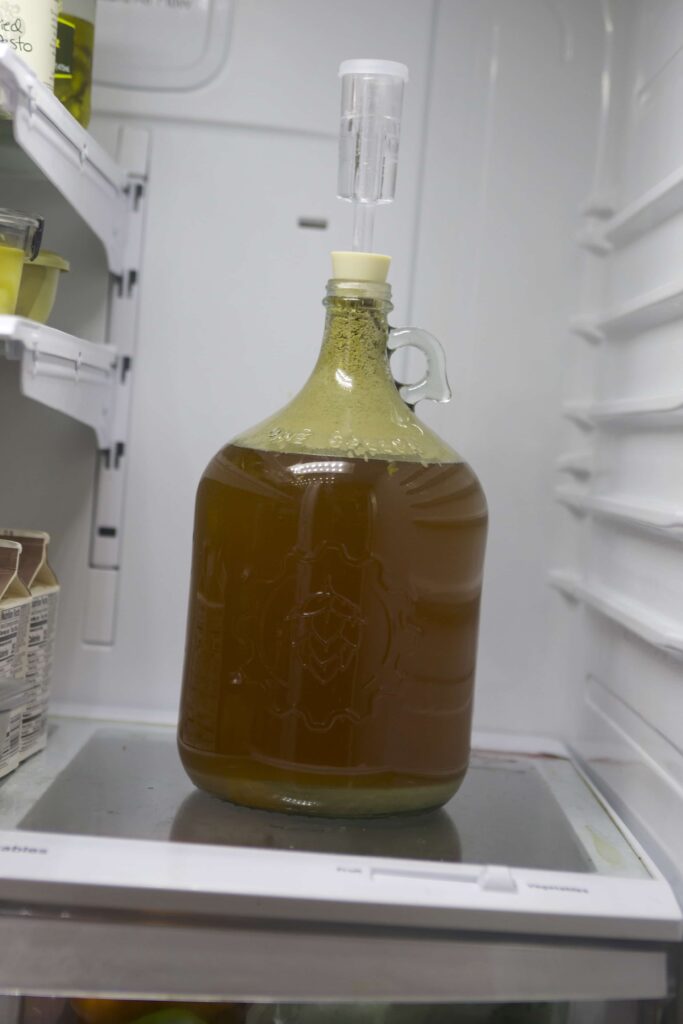
This technique isn’t just for lagers, but is a must whenever fermenting a lager. It’s a surefire way to craft a lager that is clear, crisp & clean tasting. Cold crashing helps with sediment separation and improves clarity and mouthfeel.
One of the easiest hacks to better tasting lagers & ales, cold crashing is incredibly easy to do! After fermentation is complete, place the fermenter (with an airlock on) in the fridge for 3-5 days before bottling. If fermenting a larger volume of beer, you can use temperature control gear (like a glycol chiller) to chill beer to 35-40°F and hold the temperature steady for 3-5 days.
Cold crashing essentially shocks the yeast & draws it out of suspension (so it “crashes” to the bottom of the fermenter).
How to lager beer: step by step instructions
Ready to get started? Follow these comprehensive instructions for brewing our Light Craft Lager beer recipe.
SANITATION
Prepare at least one gallon of your preferred sanitizing solution in a bucket. Sanitize your equipment by soaking the components for 60 seconds in the mix and let dry on fresh paper towels
BREWING
-
- Pour at least 2.5 gallons of water in the pot and heat until it reaches 155°F.
-
- While water’s heating, place specialty grains in the grain sock & tie off the top. Once water reaches 155°F, steep the grains for 20 minutes while maintaining the temperature. Remove bag & discard. Don’t squeeze (this releases tannins).
-
- Bring to a boil. Once you see the first boiling bubble remove the pot from heat. Slowly stir in the Pilsen Malt Extract. Do not let it clump or stick to the bottom. Once completely dissolved, heat to medium/high to achieve a slow rolling boil.
-
- Add Saaz Hops (Bittering) & start timing for a 60 minute boil.
-
- With 10 minutes left in the boil, add Saaz & Mt. Hood Hops (Flavor) to the pot.
-
- With 2 minutes left in the boil, add Saaz & Mt. Hood Hops (Aroma) to the pot.
-
- After the 60-minute boil, turn off the burner and remove the pot from heat.
-
- Cool down the wort (unfermented beer) as quickly as possible by placing the pot in an ice bath in your sink OR by using a wort chiller. Temperature must be below 75°F before it’s safe for yeast. Keep a lid on the pot while it cools down to avoid contamination.
-
- While wort chills, sanitize the fermenting equipment along with the yeast pack and a pair of scissors.
-
- Once wort cools to 75°F or below, transfer to the fermenter. Leave any thick sludge in the pot. You may have to use a funnel at this point if your fermenter is a carboy.
-
- Add more cool water as needed to reach a full 5 gallon volume.
-
- Aerate the wort by sealing the fermenter and rocking back and forth for a few minutes.
-
- Use sanitized scissors to open the W-34/70 yeast pack & add yeast to the wort.
-
- Seal your fermenter & use a blow-off tube for the first few days of fermentation. Once fermentation calms, it’s safe to install an airlock.
-
- Let your beer ferment for 2 weeks at a temperature between 58 – 68°F, in a dark location. This lager yeast does not need true lagering temperatures to produce a lager beer and can tolerate a temperature up to 72°F, but for best results a cooler temperature is ideal.
THE NEXT 2 WEEKS: FERMENTATION
-
- Mark your calendar for 14 days from brew day. This will be your bottling day, unless you decide to cold crash. You’ll see the most activity between 12-72 hours after adding yeast. There’ll be foam on the surface of the beer & bubbles in the airlock. Activity will eventually calm down & taper off.
DIACETYL REST
If fermenting at the lower end of the temp range, we let beer rise to 70°F on day 10 of fermentation – hold this temp for 4 days to allow yeast to reabsorb diacetyl (buttery off-flavor) as it finishes fermenting, keeping it out of your finished lager.
COLD CRASHING
After fermentation is complete, place the fermenter (airlock on) in the fridge for 3-5 days before bottling. OR use temperature control gear or a glycol chiller to chill beer to 35-40°F for 3-5 days.
BOTTLING DAY
-
- Sanitize siphoning and bottling equipment.
-
- Mix exactly 2/3 cup of table sugar and 2 cups of water, this will be the priming solution. Bring to a boil, then let it cool down. Once it has completely cooled, pour solution into a bottling bucket (or directly into the Catalyst Fermentation System).
-
- Siphon beer into a bottling bucket and mix with a priming solution. Stir gently.
-
- Siphon (or use Catalyst bottling funnel) to fill & seal bottles. Need bottles? Explore our bottling kits & equipment.
THE NEXT 2 WEEKS: CONDITION/CARBONATE
-
- Carbonate bottles at room temperature, dark place. After 2 weeks, bottles should be refrigerated to lock in carbonation.
How to lager beer – let’s review
In theory – you could turn any Craft a Brew recipe kit into a lager. Just be sure to swap the included yeast with a lager yeast (SHOP HERE) and follow the recommendations for cold temperature control, diacetyl rest & cold crashing for best results.
Lagers are defined by their yeast strain (bottom fermenting lager yeast) & cold fermentation temperatures.
Anyone can lager at home as long as they can maintain a cold, stable fermentation temperature, incorporate a diacetyl rest & cold crash. But even if you plan to lager in the summer or live in a hot environment, you can still craft a fantastic lager with our Light Craft Lager Kit. Lager yeast, W-34/70, is adaptable and forgiving if fermented in temperatures up to 72°F.
Prep for your first lager brew day with a hard or soft cooler or a spare fridge. Be sure to perform a diacetyl rest in the last 4 days of fermentation to help absorb any off flavors. Then, follow up with a few days of cold crashing to help clarify & crisp up your lager.
If you’ve got more lager questions – email us at support@craftabrew.com! If you’re hungry for more homebrew knowledge, explore our other blog posts:
