24 Sep Kombucha Making Kit – How To Make It At Home
Sick of spending $5 on a bottle every time you want your fizzy kombucha fix? It’s time to start brewing it yourself with an easy, all-in-one kombucha making kit!
Even if you’re new to the world of kombucha and are wondering why this drink has such a huge, ever-growing section at the grocery store – you’ve come to the right place!
Here at Craft a Brew, our mission is to turn kombucha drinkers into kombucha brewers. Our comprehensive Kombucha Starter Kits are designed to be easy enough for the first time kombucha brewer, while delivering a finished product that tastes as good as (if not better than) the store bought stuff!
Before we dive into what comes with our kombucha making kit and how you brew your own kombucha, we’ll discuss:
-
- what kombucha is
- how it benefits you every time you take a sip
- why it’s time you start brewing your own kombucha
WHAT IS KOMBUCHA?
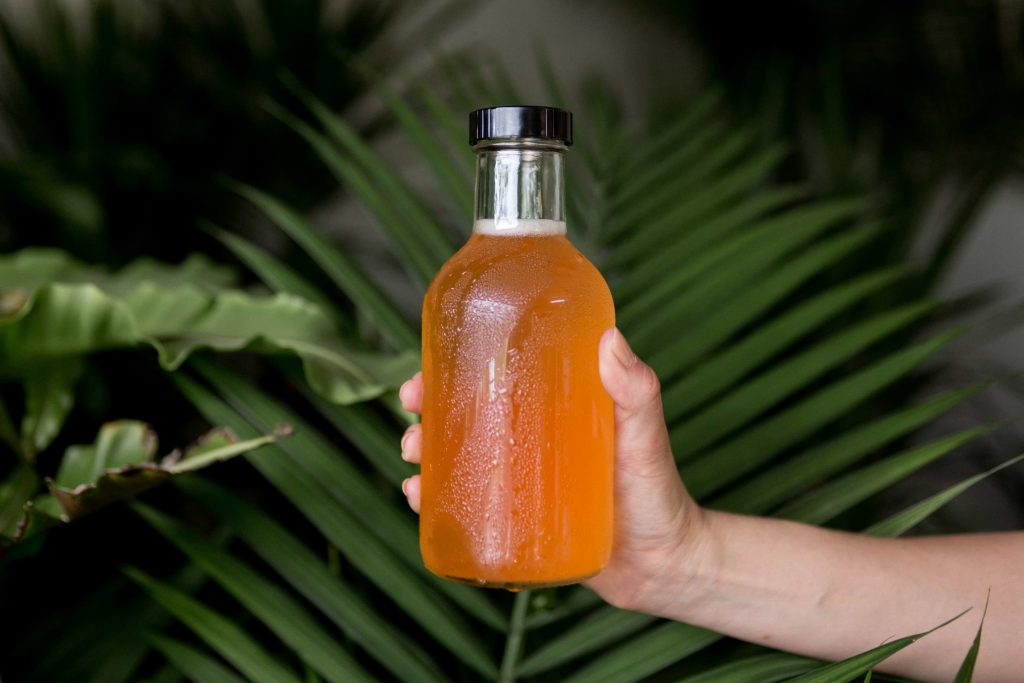
Sure, you can find kombucha everywhere now, but what exactly is it? Kombucha is a fizzy fermented tea that’s packed with probiotics, antioxidants, vitamins & amino acids.
Sweetened black tea or green tea is fermented with the help of a SCOBY. SCOBY is an acronym for Symbiotic Culture Of Bacteria and Yeast. This pancake shaped live culture rests in a jar of room temperature sweetened tea, fermenting the tea and creating light effervescence over the course of 1-2 weeks. We’ll dive deeper into SCOBYs in a bit, but you can jump ahead to learn more HERE.
Fermentation: a process in which yeast (& bacteria) convert sugars into acids & alcohol
Store bought and homebrewed kombucha do contain trace amounts of alcohol as a result of fermentation. Though the alcohol by volume will be less than 0.5% – comparable to non-alcoholic beer.
Kombucha’s blend of sweet & vinegar-y flavors is an acquired taste for some, but with the addition of fruit, herbs, juice and spices, kombucha can be a delicious soda alternative for many!
If you’ve tried kombucha and immediately disliked it – we suggest sampling a few more brands and flavors. You’re bound to find a flavor that you love. With store offerings ranging from smooth mango, yummy berry, sweet-tart guava or floral lavender, you’re bound to find a flavor that speaks to you.
THE BENEFITS OF ‘BOOCH
Kombucha making not just a current craze or trend. The fermented tea drink is actually ancient! Kombucha’s origins date back to the 200’s BC in Northern China, brewed and enjoyed for its numerous healthy benefits. Kombucha popularity surged in the 1960’s following a study that compared the beverage’s health benefits to those found in yogurt.
While kombucha is not a miracle beverage or a cure-all, the fermentation process does mean that each sip is full of probiotics. These “good” bacteria contribute to the overall health of your digestive gut.
WHY BREW YOUR OWN KOMBUCHA?
Store-bought kombucha is expensive
Kombucha is NOT a cheap drink. A 16oz bottle from the supermarket can cost you $3 – $6 depending on the brand. If you’re an avid kombucha drinker, or if you live in a house full of kombucha lovers, those bottles really add up!
You’ll save a ton of money
It’s quite possibly the best reason to start brewing kombucha at home. After you brew your first batch, each bottle of homemade kombucha costs you less than $1! Get ready to watch the savings roll in.
The process is as simple as brewing tea
Lucky for you, kombucha is VERY easy to make at home. The kombucha making process is simple and relatively speedy. From start to finish, the process only takes about 2 weeks and most of that time is hands-off. Your kombucha just needs a few inches of counter space to succeed.
You can get creative with your homemade kombucha
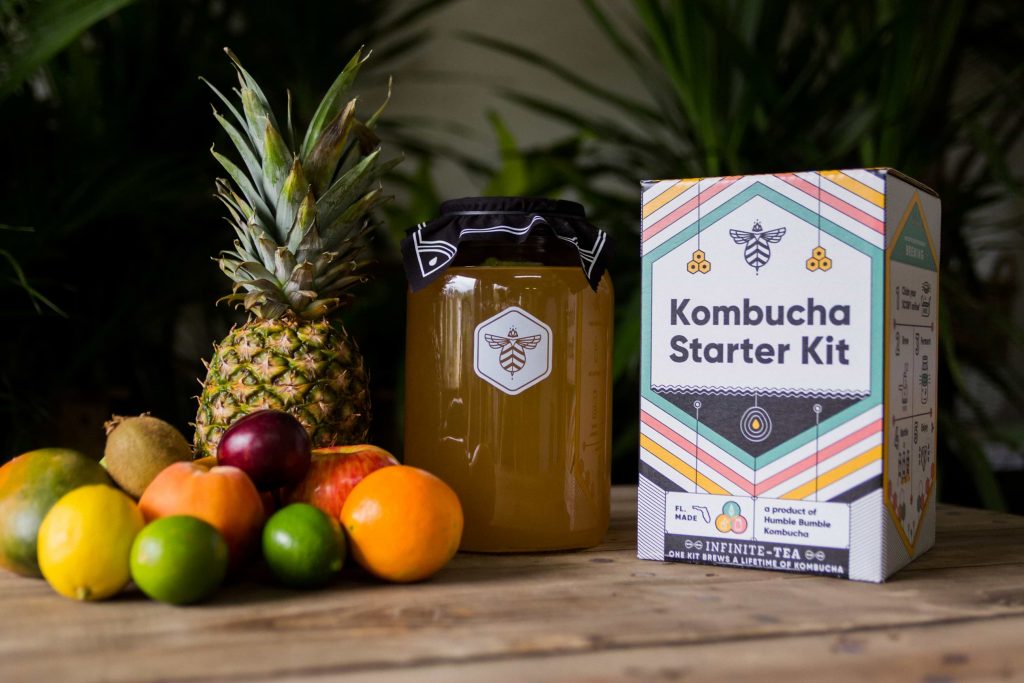
Ever wish your favorite kombucha brand would release a new flavor? Never see your favorite fruit flavors at the grocery store? When you brew your own kombucha at home you can create original recipes that brands don’t offer. Pineapple Jalapeno kombucha? Pumpkin Spice kombucha? Banana Bread kombucha? Watermelon Mint kombucha? The possibilities are endless!
It’s a lot of fun
It’s a BLAST to watch your kombucha ferment. Your SCOBY becomes a pet of sorts, growing with each batch you brew. Brewing your own kombucha helps you understand the process, but it also allows you to tinker with the fermentation to create sweeter or more tart flavors and create your perfect kombucha.
WHAT’S IN OUR KOMBUCHA MAKING KIT?
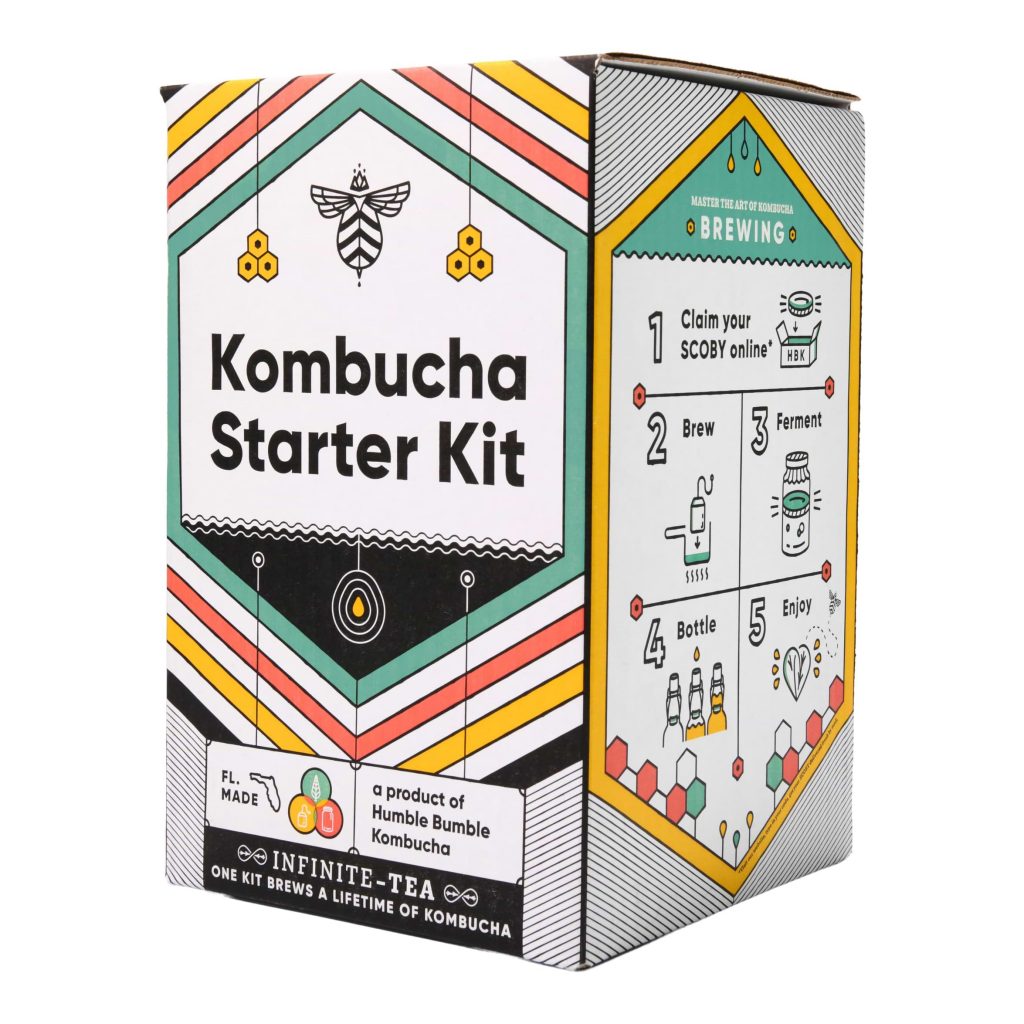
No matter where you are on your kombucha brewing journey, we have starter kits and accessories just for you. We’ll walk you through our variety of kombucha brewing products and so you can choose the best kit for your new hobby:
KOMBUCHA STARTER KIT
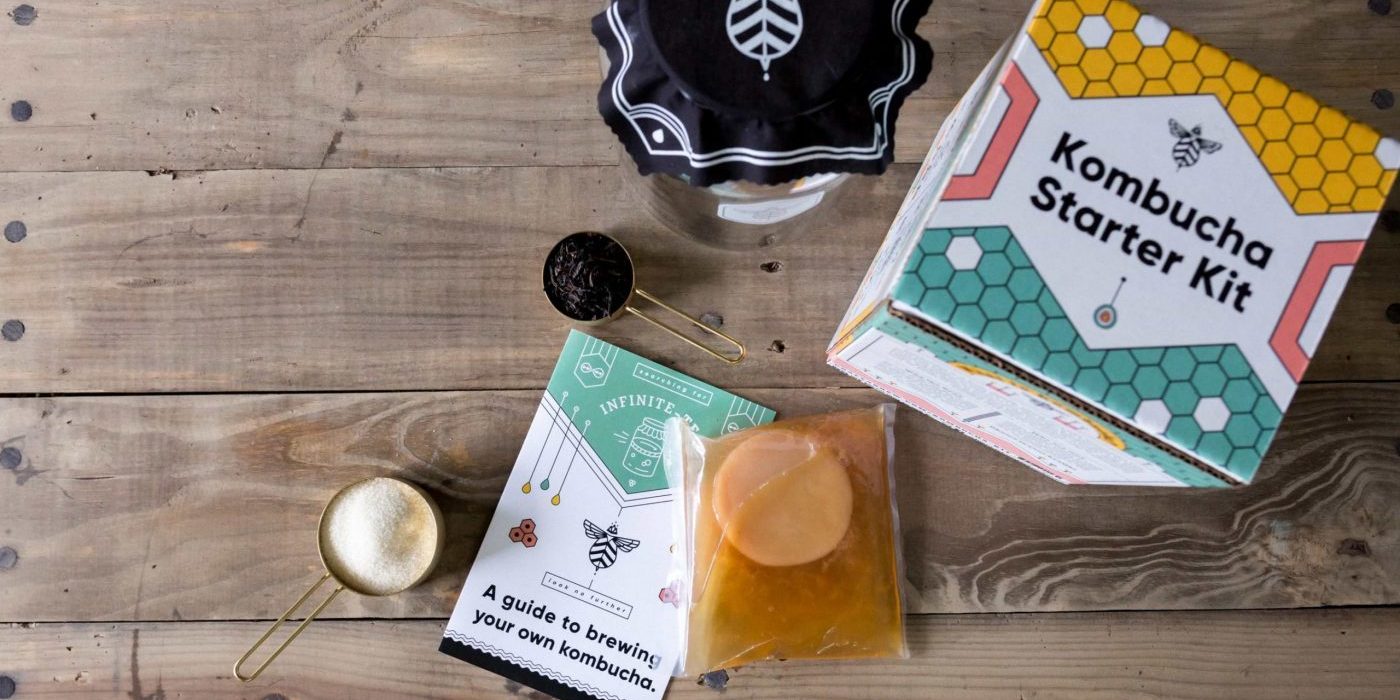
Our Kombucha Starter Kit includes everything to jumpstart your hobby – expect for bottles. You can re-use store-bought kombucha bottles, use swing-top bottles OR our Kombucha Bottling Kit.
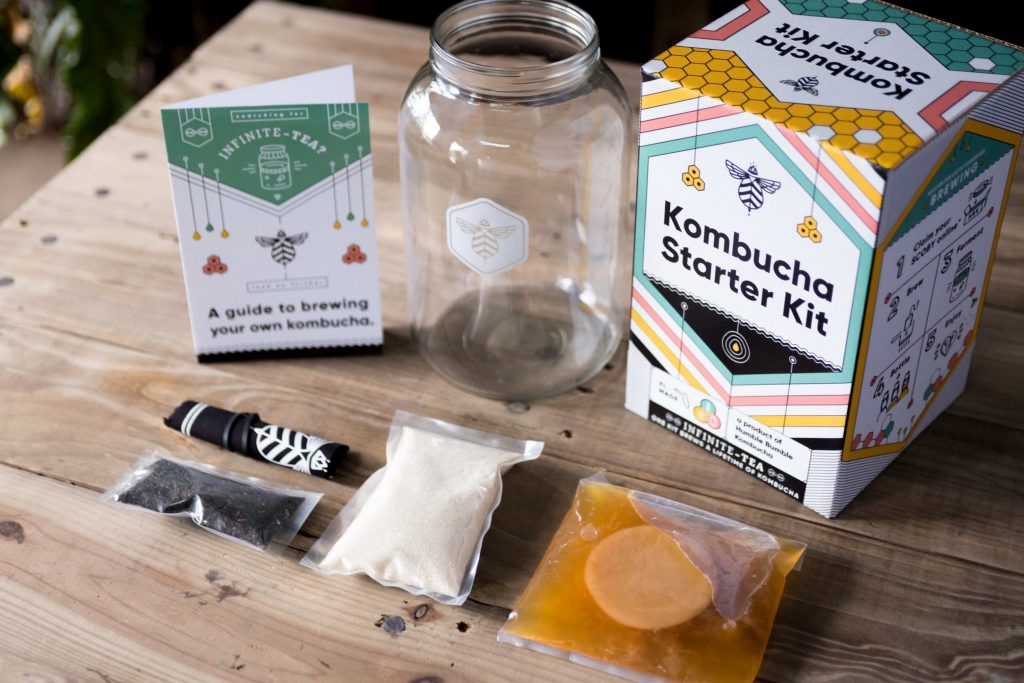
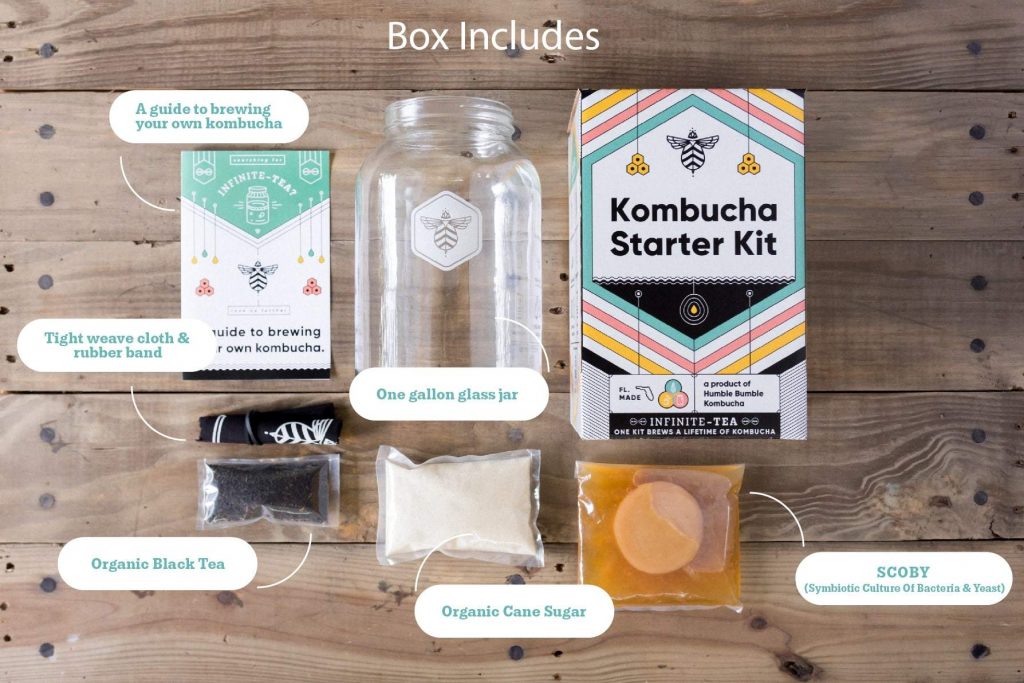
EQUIPMENT:
-
- Guide to brewing your own kombucha – our comprehensive instructional guide teaches you about the kombucha making process, how to store your SCOBY between batches, and tips for bottling & flavoring your kombucha
-
- 1 gallon wide-mouth glass jar – this is your fermenter. It’s small enough to fit on even the smallest kitchen counter.
-
- Breathable cloth – unlike beer, hard cider or other fermentations, which require airtight seals and can be ruined by oxygen exposure, kombucha actually requires air flow. This cloth keeps dust and fruit flies out, while allowing ample oxygen to flow.
-
- Rubber band – this helps keep your cloth in place, but allows you to easily remove the cloth to check on fermentation
-
- Tea steeping bag – this drawstring bag keeps your loose tea contained while brewing
INGREDIENTS:
-
- 6 tsp organic black tea – our kit uses black tea because it has nutrients needed for fermentation. Herbal teas, which are not real tea, and flavored teas are NOT ideal for kombucha making.
-
- 1 cup organic cane sugar – it’s important to note that this sugar is NOT for the drinker. Think of sugar as SCOBY “food.” It’s fermented out during the process and the sugar content can be reduced the longer you ferment. Our kit does not use honey, brown sugar or agave, as the sugar content may vary and create inconsistent fermentation
-
- SCOBY (Symbiotic Culture Of Bacteria & Yeast) – the SCOBY is a live culture that will grow larger (& grow a new SCOBY) with each kombucha fermentation. Every SCOBY will vary in size, shape, color, thickness, etc. as each is individually grown. The SCOBY is a byproduct of fermentation, so its appearance is not as important as the starter tea.
-
- 1 cup starter tea – the SCOBY comes packaged in this previously fermented kombucha. THIS liquid tea is the real driver of fermentation and jumpstarts your fermentation. The lifecycle of kombucha involves reserving 1-2 cups of fermented kombucha from each batch to jumpstart the next batch.
There are a few supplies that are NOT included in our Kombucha Starter Kit, but you may likely already have some of these accessories in your own kitchen. Additional supplies needed for bottling day include:
-
- 8 – 10 glass bottles – 12-16 oz glass bottles are ideal, as kombucha should not be stored in plastic or metal containers. We suggest reusing store-bought kombucha bottles, using swing top bottles OR using our Kombucha Bottling Kit, which is included in the Deluxe Kombucha Starter Kit.
Bottling is an important step in the process. Kombucha fermentation involves 2 main phases. First, fermentation happens in the 1 gallon jar, then again in bottles. Bottling is required in order to carbonate your kombucha and is the step in which you get to add fruit and other flavors.
-
- A funnel – this helps on bottling day to prevent any sticky messes. A sturdy Stainless Steel Funnel is a great option, which is included in the Deluxe Kombucha Starter Kit.
DELUXE KOMBUCHA STARTER KIT
Our Deluxe Kombucha Starter Kit includes everything in our standard Kombucha Starter Kit PLUS a Kombucha Bottling Kit and a Stainless Steel Funnel for less-messy bottling day.
EQUIPMENT:
-
- Guide to brewing your own kombucha – our comprehensive instructional guide teaches you about the kombucha making process, how to store your SCOBY between batches, and tips for bottling & flavoring your kombucha
-
- 1 gallon wide-mouth glass jar – this is your fermenter. It’s small enough to fit on even the smallest kitchen counter.
-
- Breathable cloth – unlike beer, hard cider or other fermentations, which require airtight seals and can be ruined by oxygen exposure, kombucha actually requires air flow. This cloth keeps dust and fruit flies out, while allowing ample oxygen to flow.
-
- Rubber band – this helps keep your cloth in place, but allows you to easily remove the cloth to check on fermentation.
-
- Tea steeping bag – this drawstring bag keeps your loose tea contained while brewing.
-
- Kombucha Bottling Kit – with semi-wide openings and simple twist-off caps, this set of eight 16oz “stout” style bottles makes it easy to fill and seal your kombucha for fermentation. Dishwasher safe and easy to clean.
-
- Stainless Steel Funnel – this 5” wide funnel includes a removable strainer that’s great for filtering.
INGREDIENTS:
-
- 6 tsp organic black tea – our kit uses black tea because it has nutrients needed for fermentation. Herbal teas, which are not real tea, and flavored teas are NOT ideal for kombucha making.
-
- 1 cup organic cane sugar – it’s important to note that this sugar is NOT for the drinker. Think of sugar as SCOBY “food.” It’s fermented out during the process and the sugar content can be reduced the longer you ferment. Our kit does not use honey, brown sugar or agave, as the sugar content may vary and create inconsistent fermentation.
-
- SCOBY (Symbiotic Culture Of Bacteria & Yeast) – the SCOBY is a live culture that will grow larger (& grow a new SCOBY) with each kombucha fermentation. Every SCOBY will vary in size, shape, color, thickness, etc. as each is individually grown. The SCOBY is a byproduct of fermentation, so its appearance is not as important as the starter tea.
-
- 1 cup starter tea – the SCOBY comes packaged in this previously fermented kombucha. THIS liquid tea is the real driver of fermentation and jumpstarts your fermentation. The lifecycle of kombucha involves reserving 1-2 cups of fermented kombucha from each batch to jumpstart the next batch.
HOW TO BREW YOUR OWN KOMBUCHA:
SANITATION:
The most important part of the kombucha making process is properly sanitizing your equipment. If any outside bacteria get into your brew they’ll grow and make your kombucha undrinkable. Be sure to use soap that is NOT antibacterial (most dish soaps will work) to clean equipment, as this will kill all of the positive bacteria that kombucha needs to thrive.
BREWING: (~30 min)
-
- Pour 4 cups of water into a medium stock pot & bring to a boil. Once a boil is achieved remove the pot from heat.
- Let cool for about 2 minutes. Add 6 tsp organic black tea to the included drawstring bag, then add to the pot. Steep in the hot water for 15 minutes.
- After steeping, remove the tea bag from your pot and give it a good squeeze to remove any excess water and discard.
- Add 1 cup of sugar to the pot and stir to dissolve.
- Add 9 cups of cool filtered water directly to the 1 gallon glass jar, then add the sweetened tea to the jar.
- Once the liquid in the jar has cooled to room temperature, add SCOBY & 1-2 cups of liquid starter tea to the jar. Add more water to the jar if necessary to get to about 4 inches below the top.
- Cover jar with the included cloth & secure with the rubber band.
FERMENTATION: (7-14 days)
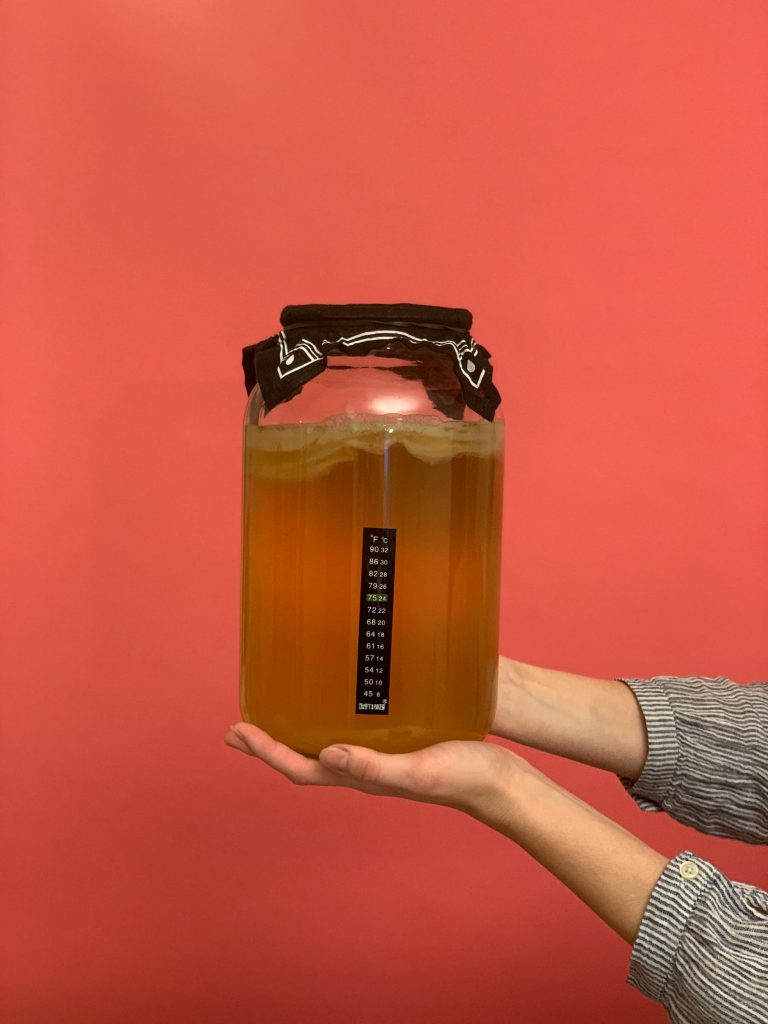
Your brewed tea and SCOBY will stand at room temperature (70 – 85 *F) for 7 – 14 days. Be sure to store the jar out of direct sunlight with access to plenty of air (no closets or cabinets). Be sure to ferment away from plants, produce, trash or compost.
We recommend tasting your kombucha with a clean spoon on day 7. It will likely still be pretty sweet at this time. If you like the flavor, move on to bottling. If you prefer it to be more tart continue fermenting.
BOTTLING: (~45 min)
Bottling day is where you get to have the most fun – this is when your fruits and spices come into play. But, before bottling or adding any flavor you will need to remove your SCOBY from the jar to save it for future batches.
-
- Salvage your SCOBY:
After fermentation, you may notice that the SCOBY has grown or multiplied – this is normal. The original “mother” SCOBY will have created a new culture during fermentation. They may remain attached or may have separated. - Remove any & all SCOBYs from the jar with clean hands and place in a glass or ceramic bowl. (No metal or plastic containers)
- With a measuring cup, scoop 1 – 2 cups of fermented kombucha from the jar and add to the bowl with your SCOBY. This will serve as “starter tea” for your next batch.
- Once your kombucha is bottled you will return the SCOBY & reserved liquid to the now-empty jar and cover with the cloth and rubber band. You can store for up to 4 weeks before you’ll need to “feed” the SCOBY by brewing another batch of kombucha.
- Salvage your SCOBY:
Once your SCOBY and starter tea are removed, the remaining kombucha is ready to bottle. There are a few options for bottling, though we highly recommend adding fruit to your kombucha, as the natural sugar helps with carbonation!
If you prefer NO fruit & NO fizz:
If you want to drink your kombucha right away, you can bottle, immediately refrigerate & drink. Only trace amounts of carbonation will have developed during fermentation, so your kombucha will be nearly flat.
If you prefer NO fruit & but want fizz:
If you prefer a fizzier kombucha, you can bottle & store at room temperature for 3-4 days before testing a bottle for carbonation. If it’s fizzy, refrigerate. If not, test again in 2-3 days. Be sure to fill bottles sufficiently, leaving about only 1” of headspace. Fuller bottles mean more carbonation. Be sure to not forget about them, if they stay at room temperature for too long pressure can build and burst the bottles!
If your prefer if flavorful & fizzy:
If you’d like to add fruit or herbs to flavor your kombucha you can add these directly to your bottles before filling with kombucha. Age for 2-3 days before testing a bottle for carbonation. Once fizzy, refrigerate. Find flavoring tips in the next section!
When it comes to bottling, you have a few options for bottles:
- Save your empties! Store-bought kombucha bottles work great!
- Swing-top bottles. These bottles can be found online and at craft stores. You can also buy beers, lemonades or other beverages that come in these style bottles and use the empties.
- Our Kombucha Bottling Kit. This kit includes eight 16oz glass bottles with simple tight-sealing twist off caps.
HOW TO BOTTLE YOUR KOMBUCHA:
-
- Rinse bottles with warm water and make sure there isn’t any sediment inside.
- Wash bottles (do NOT use antibacterial soap).
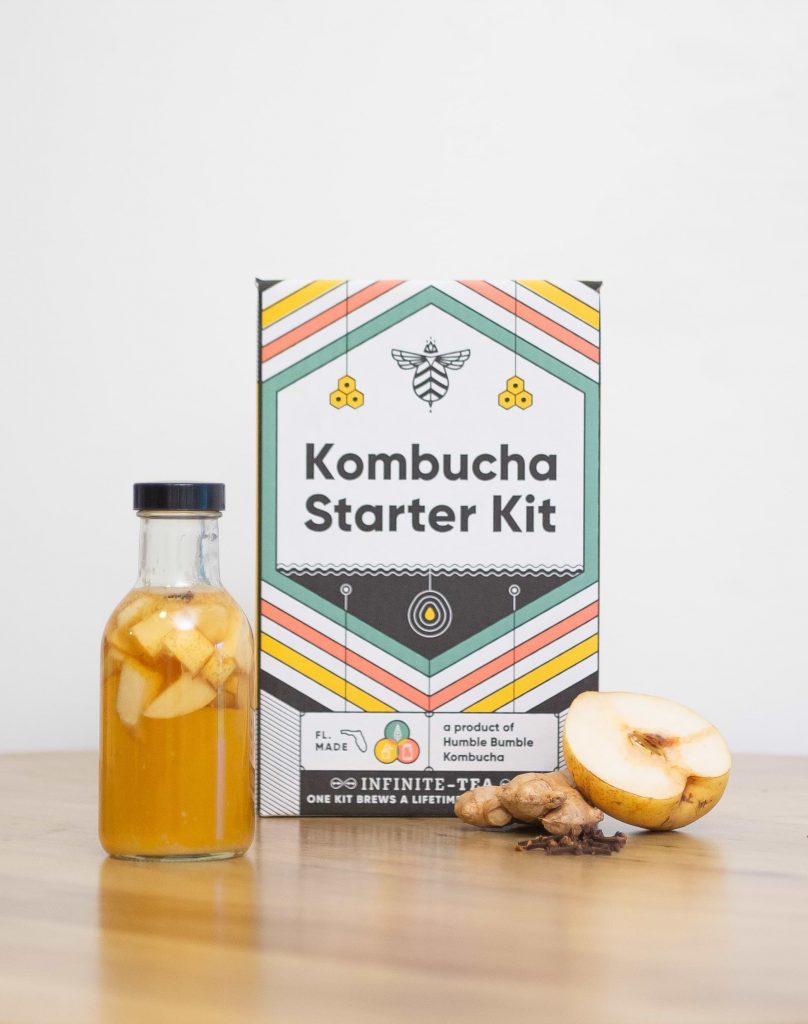
- It’s a good idea to add your fruit or other flavors to each bottle FIRST and then top off with kombucha. This way you don’t run out of room!
TIPS FOR FLAVORING YOUR KOMBUCHA:
-
-
- When adding fresh fruit, try to chop or dice as much as possible. The more surface area, the more flavor you’ll taste!
-
- When using fresh juice – recommended over concentrate – use a ratio of about 10% juice to 90% kombucha.
-
- When adding herbs and spices, remember that a little goes a long way. Note that dried herbs are more potent than fresh, so use sparingly.
-
-
- Pour your finished kombucha into bottles. We recommend using a funnel & doing this over the sink.
CARBONATION: (2-5 days)
Once your bottles are filled, seal them and store in a dark, room temperature place for 2 – 5 days. Natural sugar from the fruit will feed the yeast and create carbonation after a few days. After your desired carbonation is achieved place bottles in the refrigerator to lock in the carbonation.
WARNING! Don’t forget about your bottled kombucha! If left at room temperature for too long pressure will continue to build & bottles may burst. The safest way to get fizzy kombucha is to test for carbonation every few days by “burping” the bottles & listening for a hiss. Once desired carbonation is achieved, immediately refrigerate the batch.
STARTING A NEW BATCH:
With the equipment and SCOBY in our Kombucha Starter Kit, you can continue brewing kombucha for infinite-TEA! All you’ll need is 1 cup of sugar and 6 tsp (or 6 bags) of black tea to start a new batch following our instructions. Find ingredient refills on our website or experiment with your own tea blends.
WHAT EXACTLY IS A SCOBY:
S.C.O.B.Y. – Symbiotic Culture Of Bacteria & Yeast
Your SCOBY is the key to infinite-TEA! It has a relatively infinite life cycle and is the byproduct of kombucha fermentation. This odd little jelly pancake is a live culture that contains yeast & good-for-your-gut bacteria.
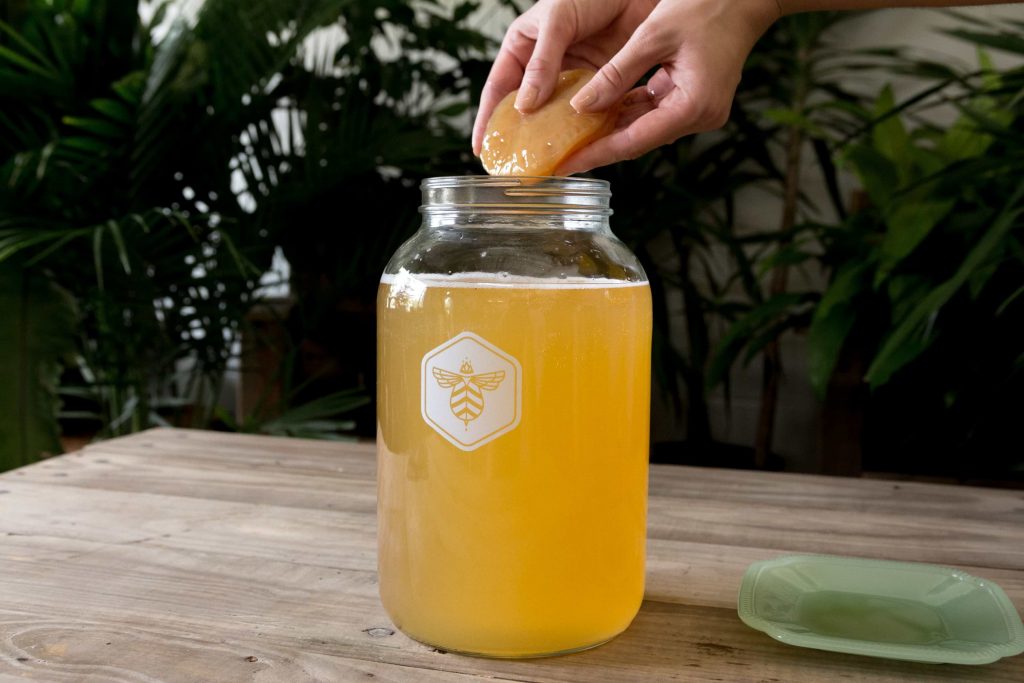
The SCOBY included with a Kombucha Starter Kit is also called a “mother” SCOBY because it will grow new baby cultures with each batch of kombucha that you brew! They may remain connected or they may grow separately, with the “baby” forming along the surface of the kombucha.
SCOBYs look, well, pretty funky. Their appearance will vary in color, thickness, shape, size & texture. They’ll grow to fit their containers, which is why most SCOBY cultures you may have seen are typically a circle.
Your Kombucah Starter Kit will include a SCOBY and previously fermented kombucha or “starter tea.” These are foundation of each new batch of kombucha. Every time your brew a batch, you’ll save some of that fermented tea to become the base of your next batch. The circle of life!
